

Klaviyo and RedTrack

Klaviyo is a growth marketing platform that helps you deliver more personalized experiences across owned marketing channels like email, SMS, in-app notifications, and web.
Integration
Important before you start
Before you proceed with the integration steps, make sure to have the already added:
- Custom tracking domain
- Offer source and Offer (if you’re an Affiliate)/ Brand and Website (if you’re an Advertiser)
- Conversion types
Integrations steps
Settings in RedTrack
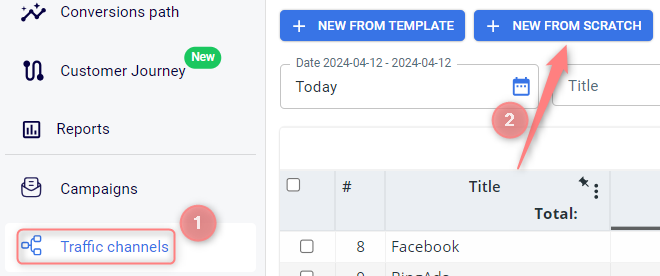
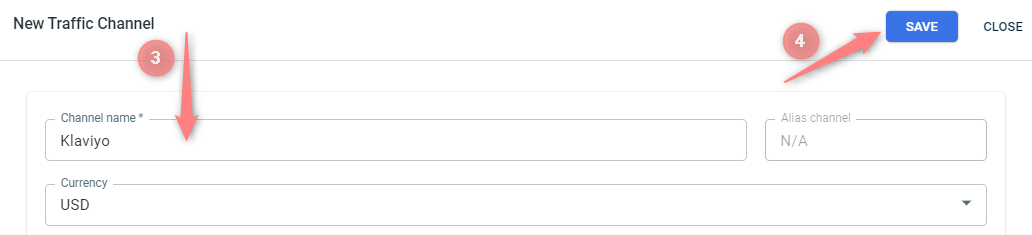
1. Add Klaviyo as a custom traffic channel in RedTrack
In your RedTrack account go to Traffic channels → New from scratch → name your channel Klaviyo → Save the template:
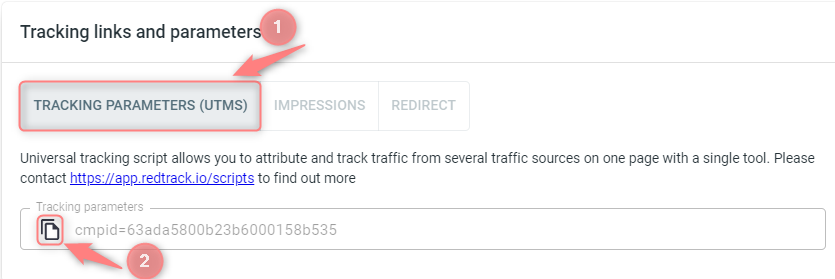
2. Create campaign in RedTrack with Klaviyo as your traffic channel
Campaigns → Create new campaign → use this guide for Affiliates / this guide for Advertisers to help you add the campaign with Klaviyo as your traffic channel. Once the Campaign is saved, go to the section Tracking links and parameters → tab Tracking parameters (UTMs) → copy the tracking parameters from there to place them later in your Klaviyo account:
Settings in Klaviyo
3. Go to your Klaviyo account and add the UTM parameters from RedTrack there
3.1 Click your account name in the top-right corner of your profile → select Account in the dropdown menu:

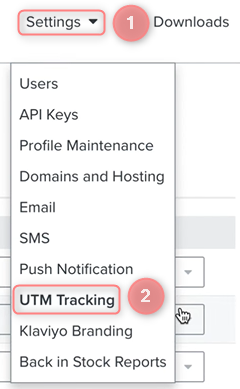
3.2 Go to the tab Settings → choose the UTM tracking option from the dropdown menu:
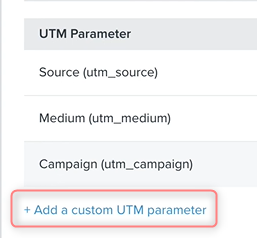
3.3 Click the button Add a custom UTM parameter:
3.4 Add the tracking parameters copied from step 2 and paste them as demonstrated on the screen:
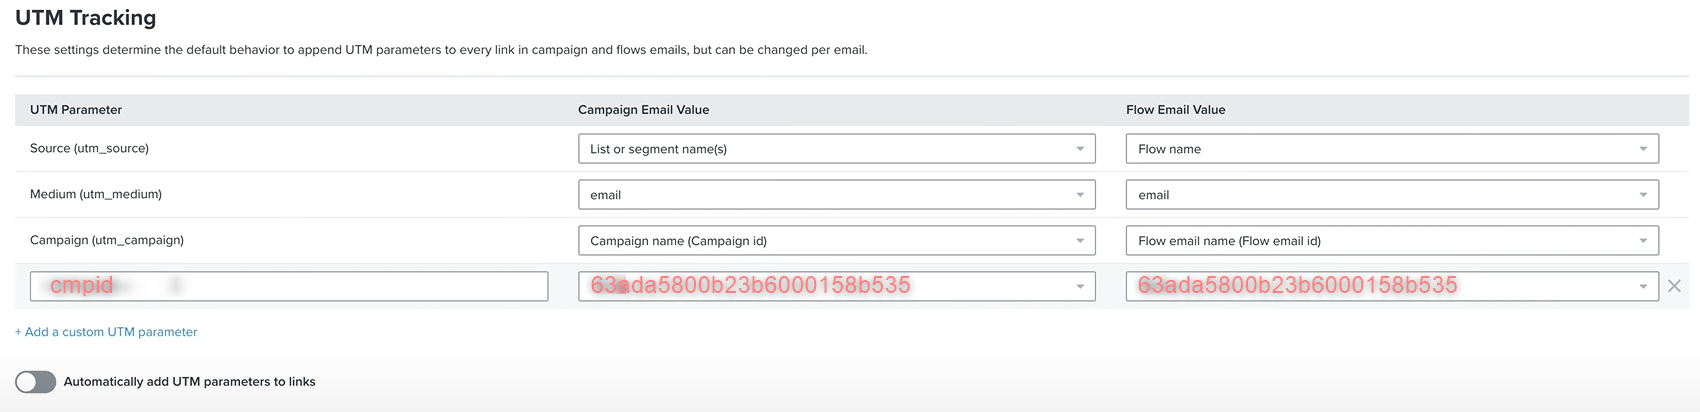
Your tracking parameters from the RT campaign are cmpid=63ada5800b23b6000158b535. So you put the “cmpid” part to the UTM Parameter field and put 63ada5800b23b6000158b535 to the Campaign Email Value and Flow Email Value fields next to the “cmpid” part.