
Custom tracking domain
Why you need a custom tracking domain
Custom tracking domain is essential for tracking. Such giants as Google, Meta, or Bing do not accept default tracking domains, thus, using a custom tracking domain prevents your campaigns from being blocked.
Using a custom tracking domain helps you to:
- Control your traffic better.
- Protect you from being blocked by the traffic channel.
- Have more control over the cases when your custom domain is compromised so you can easily update it to the new one.
The difference between a custom tracking domain (you should add) and a dedicated domain (RT gives you by default) is explained here.
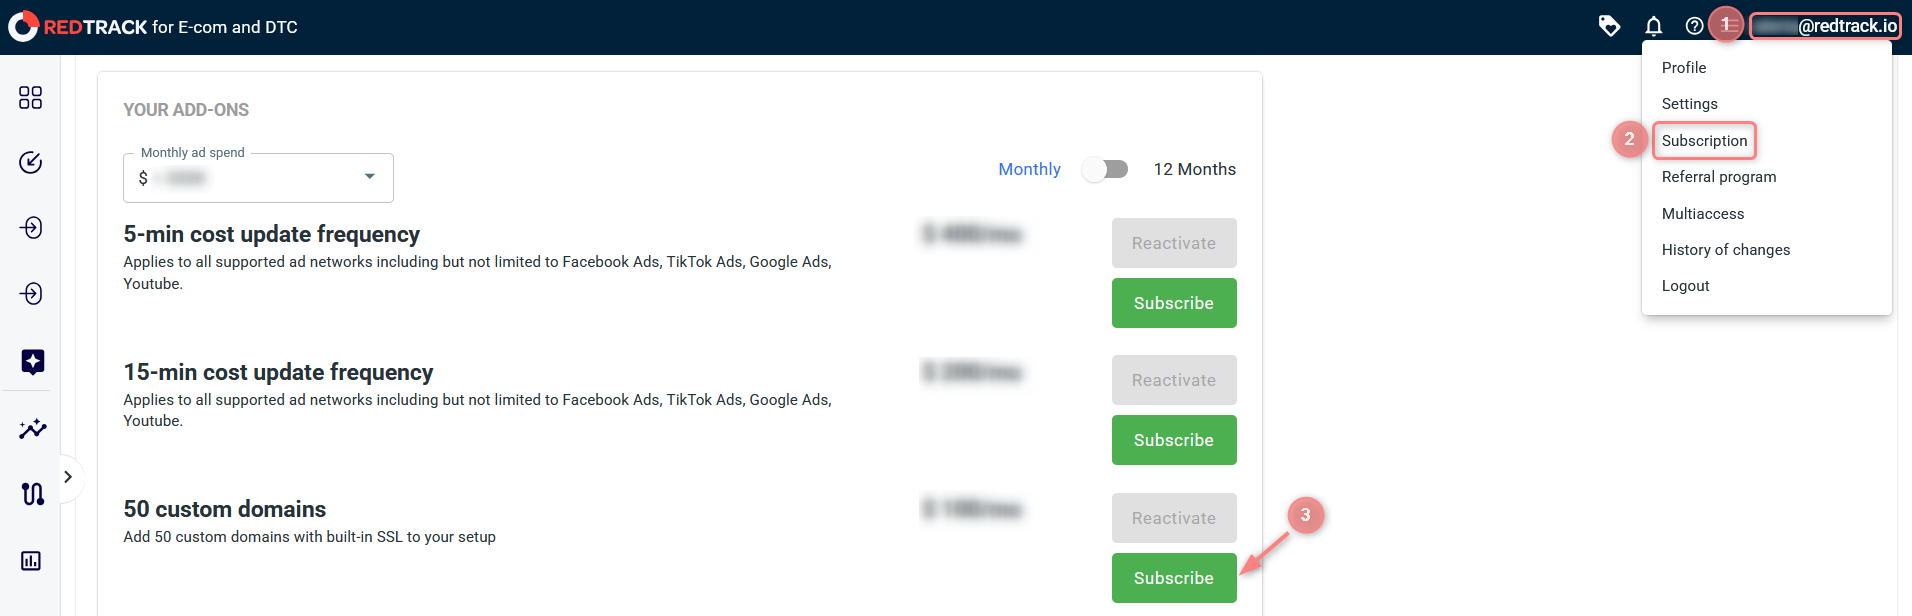
If you need more domains on any plan, you can purchase an additional 50-domain add-on by clicking on your email address → Subscription → scrolling to the Add-ons section → clicking “Subscribe”, and completing the billing details to finish your purchase:
How to add a custom tracking domain to RedTrack
Important before you start
To add the custom tracking domain, you will need to have a purchased domain. It is obtained from a registrar. Examples of the most commonly used domain registrars include GoDaddy, Namecheap, and Cloudflare.
Adding a domain
1. Add a CNAME record in your registrar. The steps below cover the most common ones.
1. Domains → Portfolio → choose the needed domain and click on it:

2. DNS → Add New Record → fill in the mandatory fields → Save:
- Type: CNAME
- Name: type in one word with no spaces or special characters

- Value: your RedTrack dedicated domain

- TTL: the lowest possible

Path: select your domain → DNS → Add record. Create a CNAME record:
- Type: CNAME
- Name: one word, no spaces or special characters — this becomes your subdomain
- Target: your RedTrack dedicated domain (RedTrack → Tools → Domains)
- Proxy status: DNS only
- TTL: the lowest possible
Path: Domain List → Manage → Advanced DNS → Add new record. Create a CNAME record:
- Type: CNAME
- Host: one word, no spaces or special characters — this becomes your subdomain
- Value: your RedTrack dedicated domain (RedTrack → Tools → Domains)
- TTL: the lowest possible
Shopify handles third-party domains differently from standard registrars, so follow the dedicated Shopify guide. Create a CNAME that points to your RedTrack dedicated domain (RedTrack → Tools → Domains), using a single-word subdomain as the host.
▸ Do not remove the CNAME record from your DNS settings as long as you are using it, as without it, your custom tracking domain won’t work properly.
2. Once the CNAME record is added, add the custom tracking domain to RedTrack.
Tools → Domains → New:

Fill in the fields:

Fields explained:
In the URL field your custom tracking domain consists of:
1. The word you typed in the Name field when adding your CNAME (in our example it’s insight):

2. Name of the domain you have purchased in your registrar and for which you added the CNAME (in our example it’s trackingfan.online).

Put the URL visitors will be redirected to in case of a direct entry to the domain URL, or you can leave it blank.
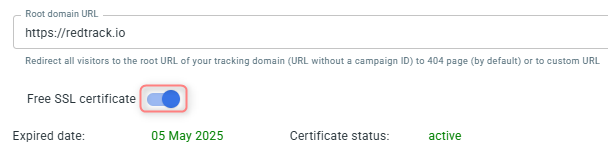
- To issue SSL certificate enable the Free SSL toggle:
We are extra cautious about our service, so RedTrack generates certificates using open-source Let’s Encrypt technology, which claims to be free, automated, and open certificate authority (CA) run for the public’s benefit (it is a service provided by the Internet Security Research Group (ISRG)).
- To reissue an SSL certificate press the Reissue button:

– If the first one failed to issue for some reason.
– If your certificate is about to expire. In this case you don’t need to wait till the very expiration day, but reissue the certificate in advance.
If for some reason the certificate issue persists, email [email protected].