
Konnektive and RedTrack
![]()
Konnektive CRM is a campaign and customer management platform that helps marketers automate and streamline complex sales procedures. It is a great web application for managing your products from a logistical and customer-driven standpoint. Click here for more info on Konnektive.
This article outlines how to track data from Konnektive in RedTrack. To do that act as follows:
Settings on the Konnektive side
In your Konnektive account add RedTrack as an Affiliate. To do that:
1. Log in to your Konnektive account:
2. Go to CRM -> Affiliates-> press “+” to add the Affiliate profile:
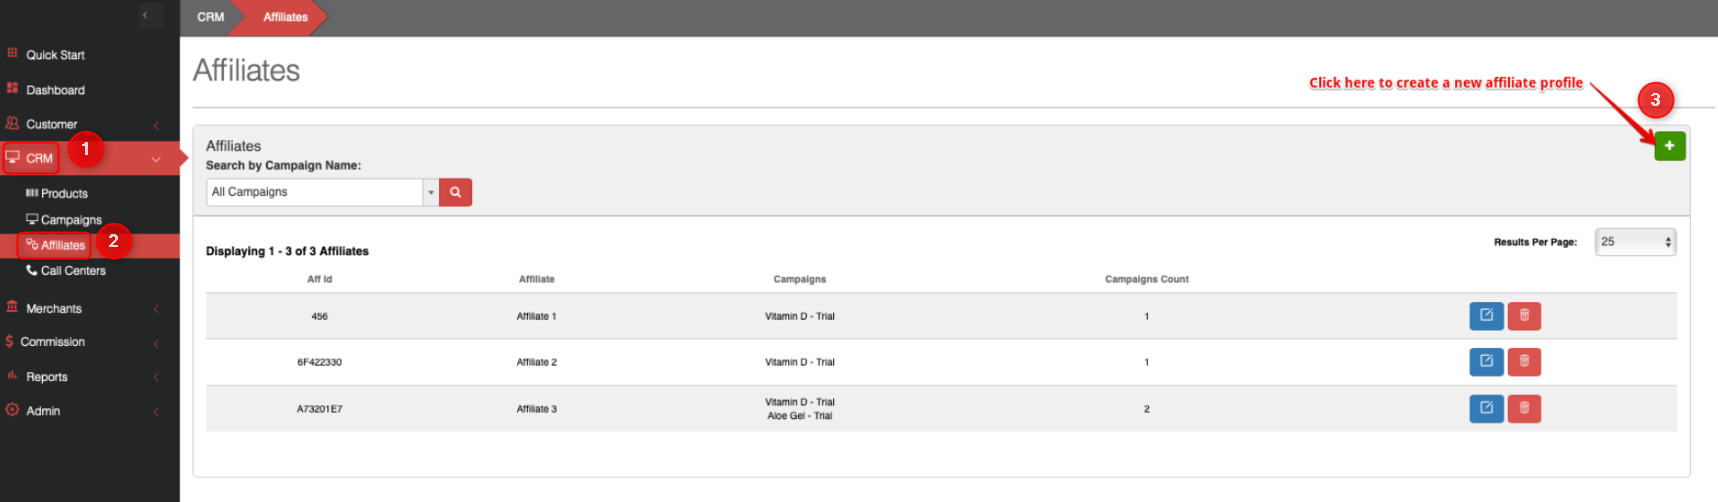
3. In the pop-up window Edit Affiliate fill in the Title field:
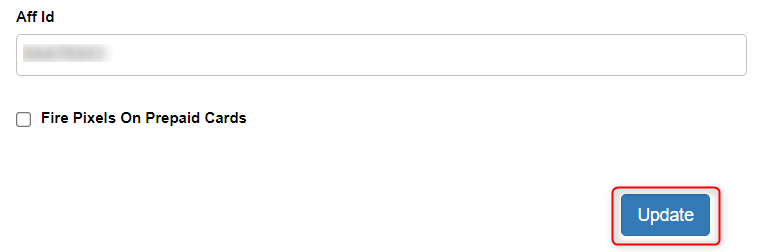
Aff Id value is generated automatically, so do not edit/add anything in this field

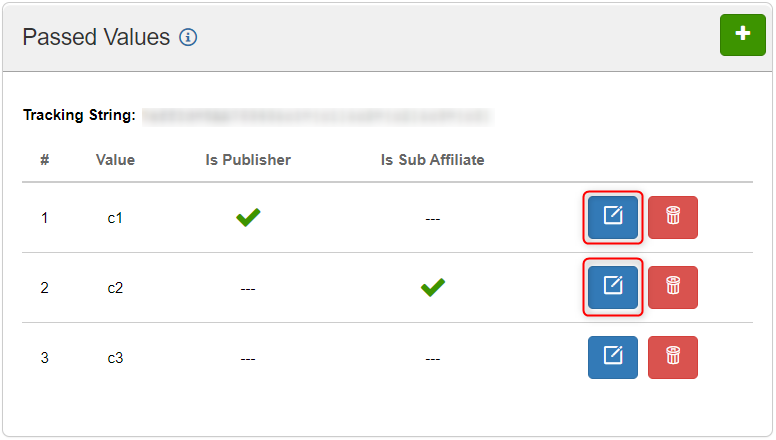
4. Pay special attention to the Passed Values window:
4.1 press “+” to add a new value:

4.2 make sure that values are ticked as follows:
- c1 = Publisher ID
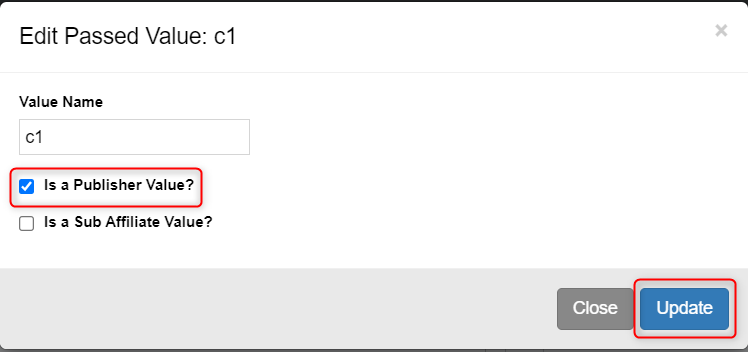
- c2 = Sub Affiliate (this is clickid passed to RedTrack)
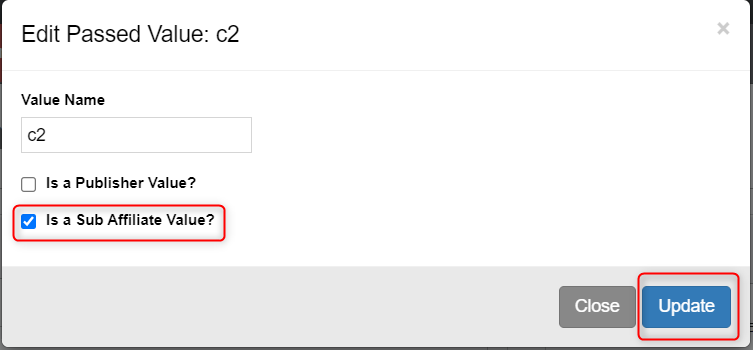
4.3 in case it’s needed to change the values, press Edit:
5. Press Update to save the changes:
6. Create a Campaign in Konnektive
Setting the Campaign in Konnektive requires some particular steps which you can find in the article Konnektive Campaign creation.
The Campaigns you’ve added can be viewed in the Campaign tab of your profile added to Affiliates:
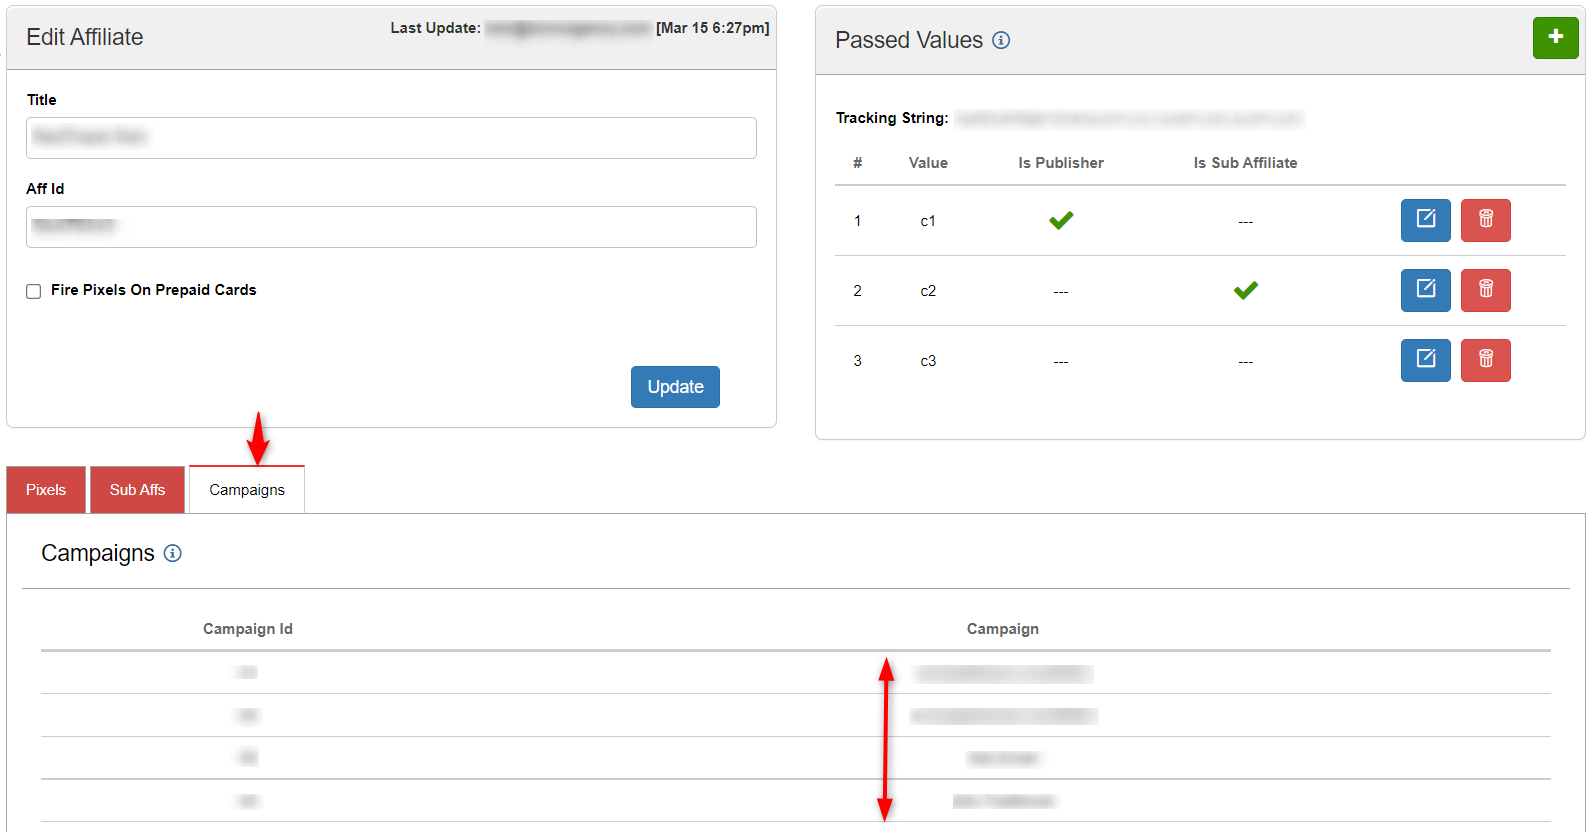
Once you create a new Campaign remember to go back inside the affiliate settings and attach the newly created Campaign.
Settings on the RedTrack side
In your RedTrack account act as follows:
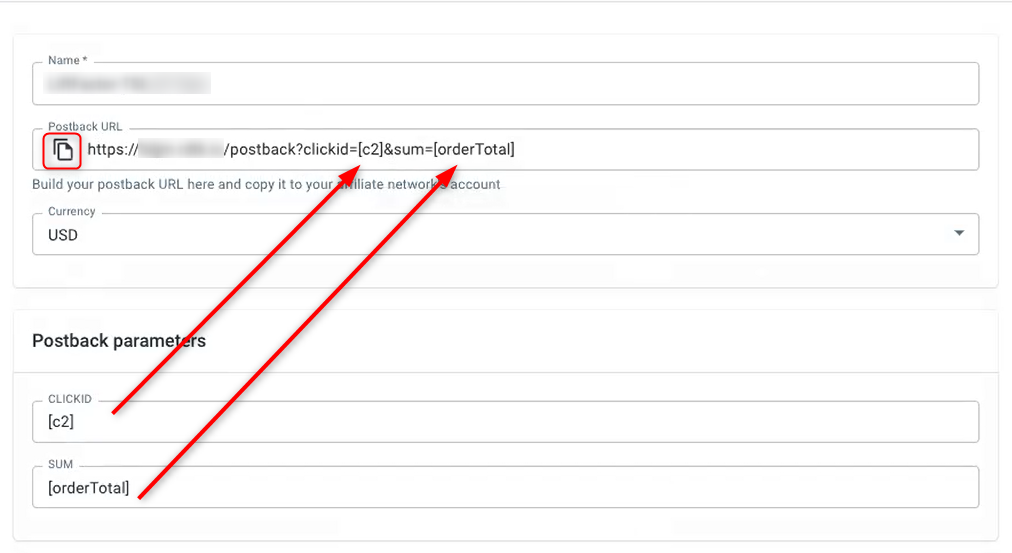
7. Add the Offer source. Once you’ve done it, copy the Postback URL:
Remember that Postback URL will be generated based on the inserted Postback parameters.
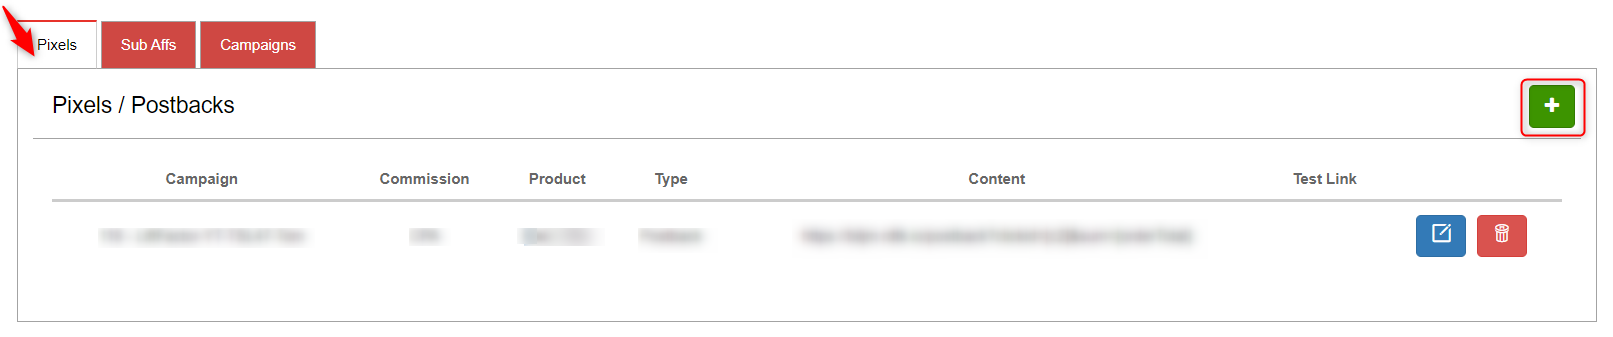
8. Go to your Affiliates profile in Konnektive, select the tab Pixels, and press “+“:
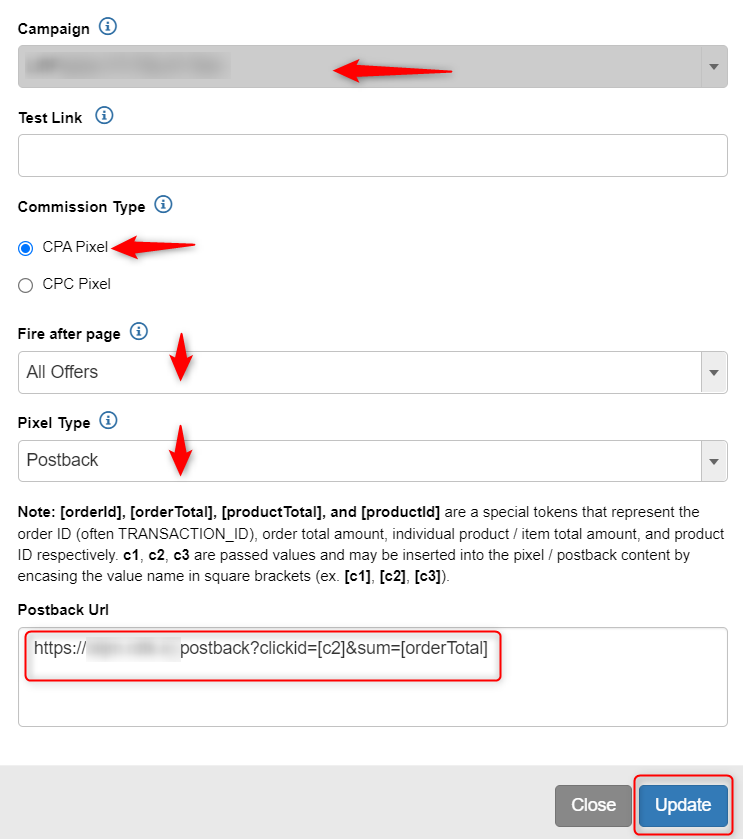
9. Fill in the mandatory fields:
*Campaign: choose the Campaign you want to integrate. Remember, that you have to add Postback for each Campaign in Konnektive!
*Commission type: choose CPA Pixel
*Fire after page: choose All offers
*Pixel type: select Postback
*Postback Url: paste the Postback URL from step 6
For more information on pixels in Konnektive go to the article Affiliate pixels in Konnektive.
10. Add your Offer
When working with Affiliate Networks, a must step when creating an Offer will be to check / put the correct macros. Meaning, you should add to the URL macros {clickid}, otherwise, postback won’t process the data correctly:

11. Create a Campaign in RedTrack
Tracking can be set by the following flows:
1. Traffic source (redirect) → LP → Offer → Konnektive
2. Traffic source (no-redirect) → LP → Offer → Konnektive
3. Traffic source → Offer → KonnektiveDetailed articles to help you build such flows:
You are all set. Good luck!