
Partnership portal: adding whitelabel
With RedTrack you have the option to make your branded portal 100% white-labeled and customized. To do that, follow the steps below:
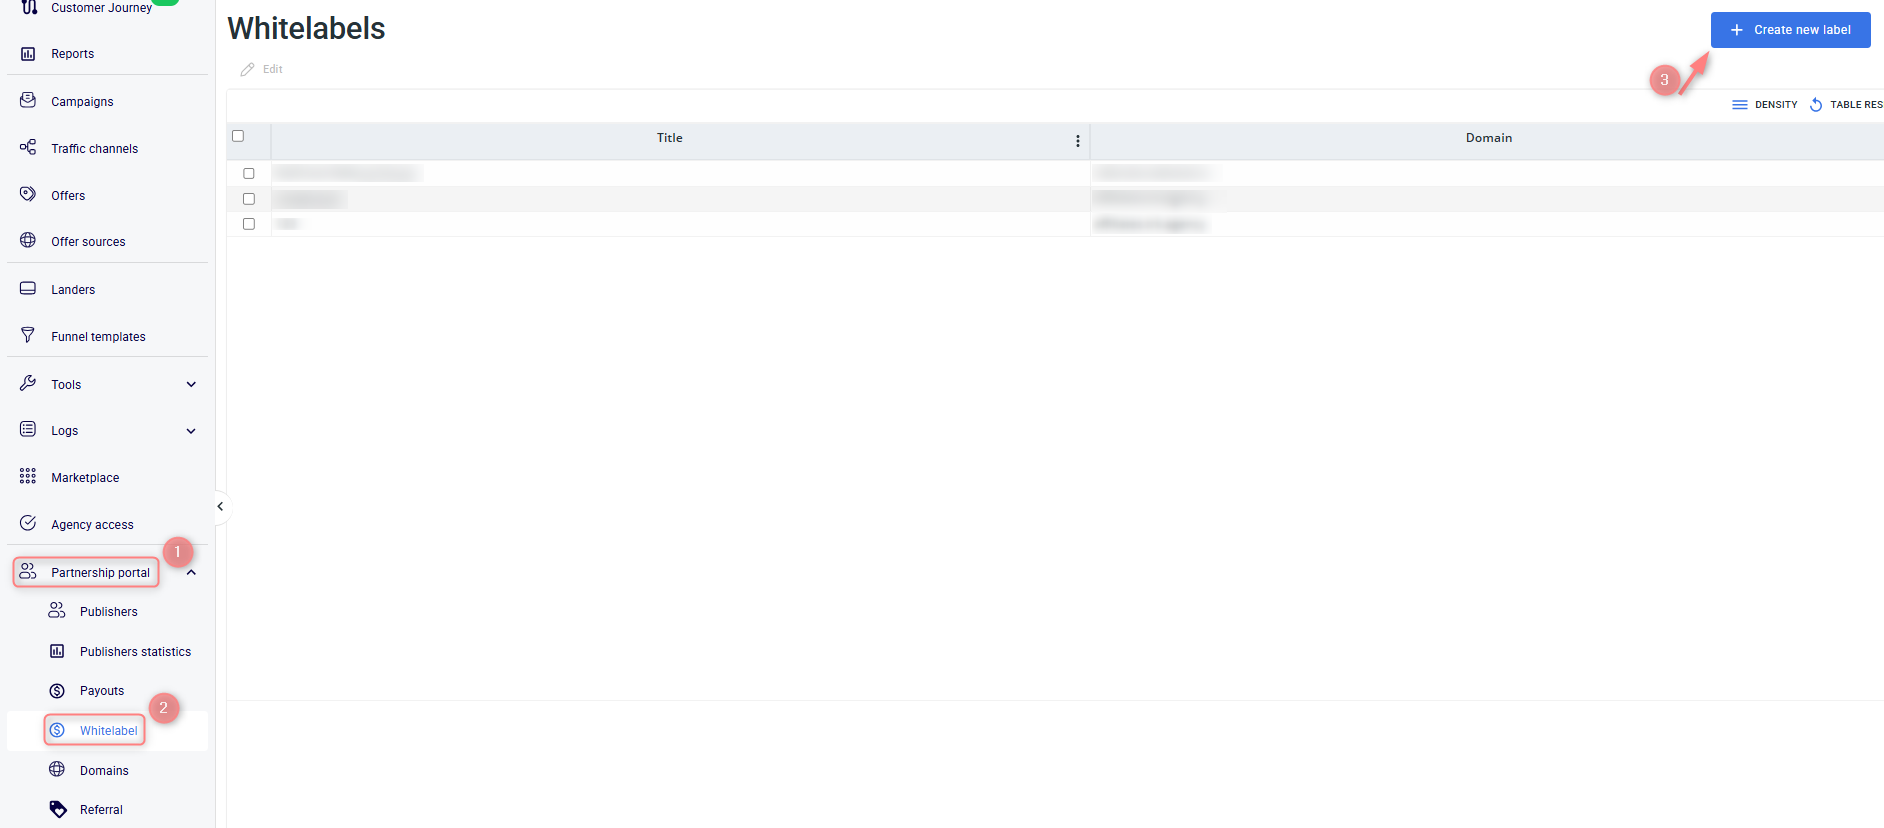
On the main RedTrack menu, navigate to the section Partnership portal → Whitelabel → Create new label:
Fill in the info in all the sections of the Whitelabel template → click Save changes:
Edit Whitelabel section
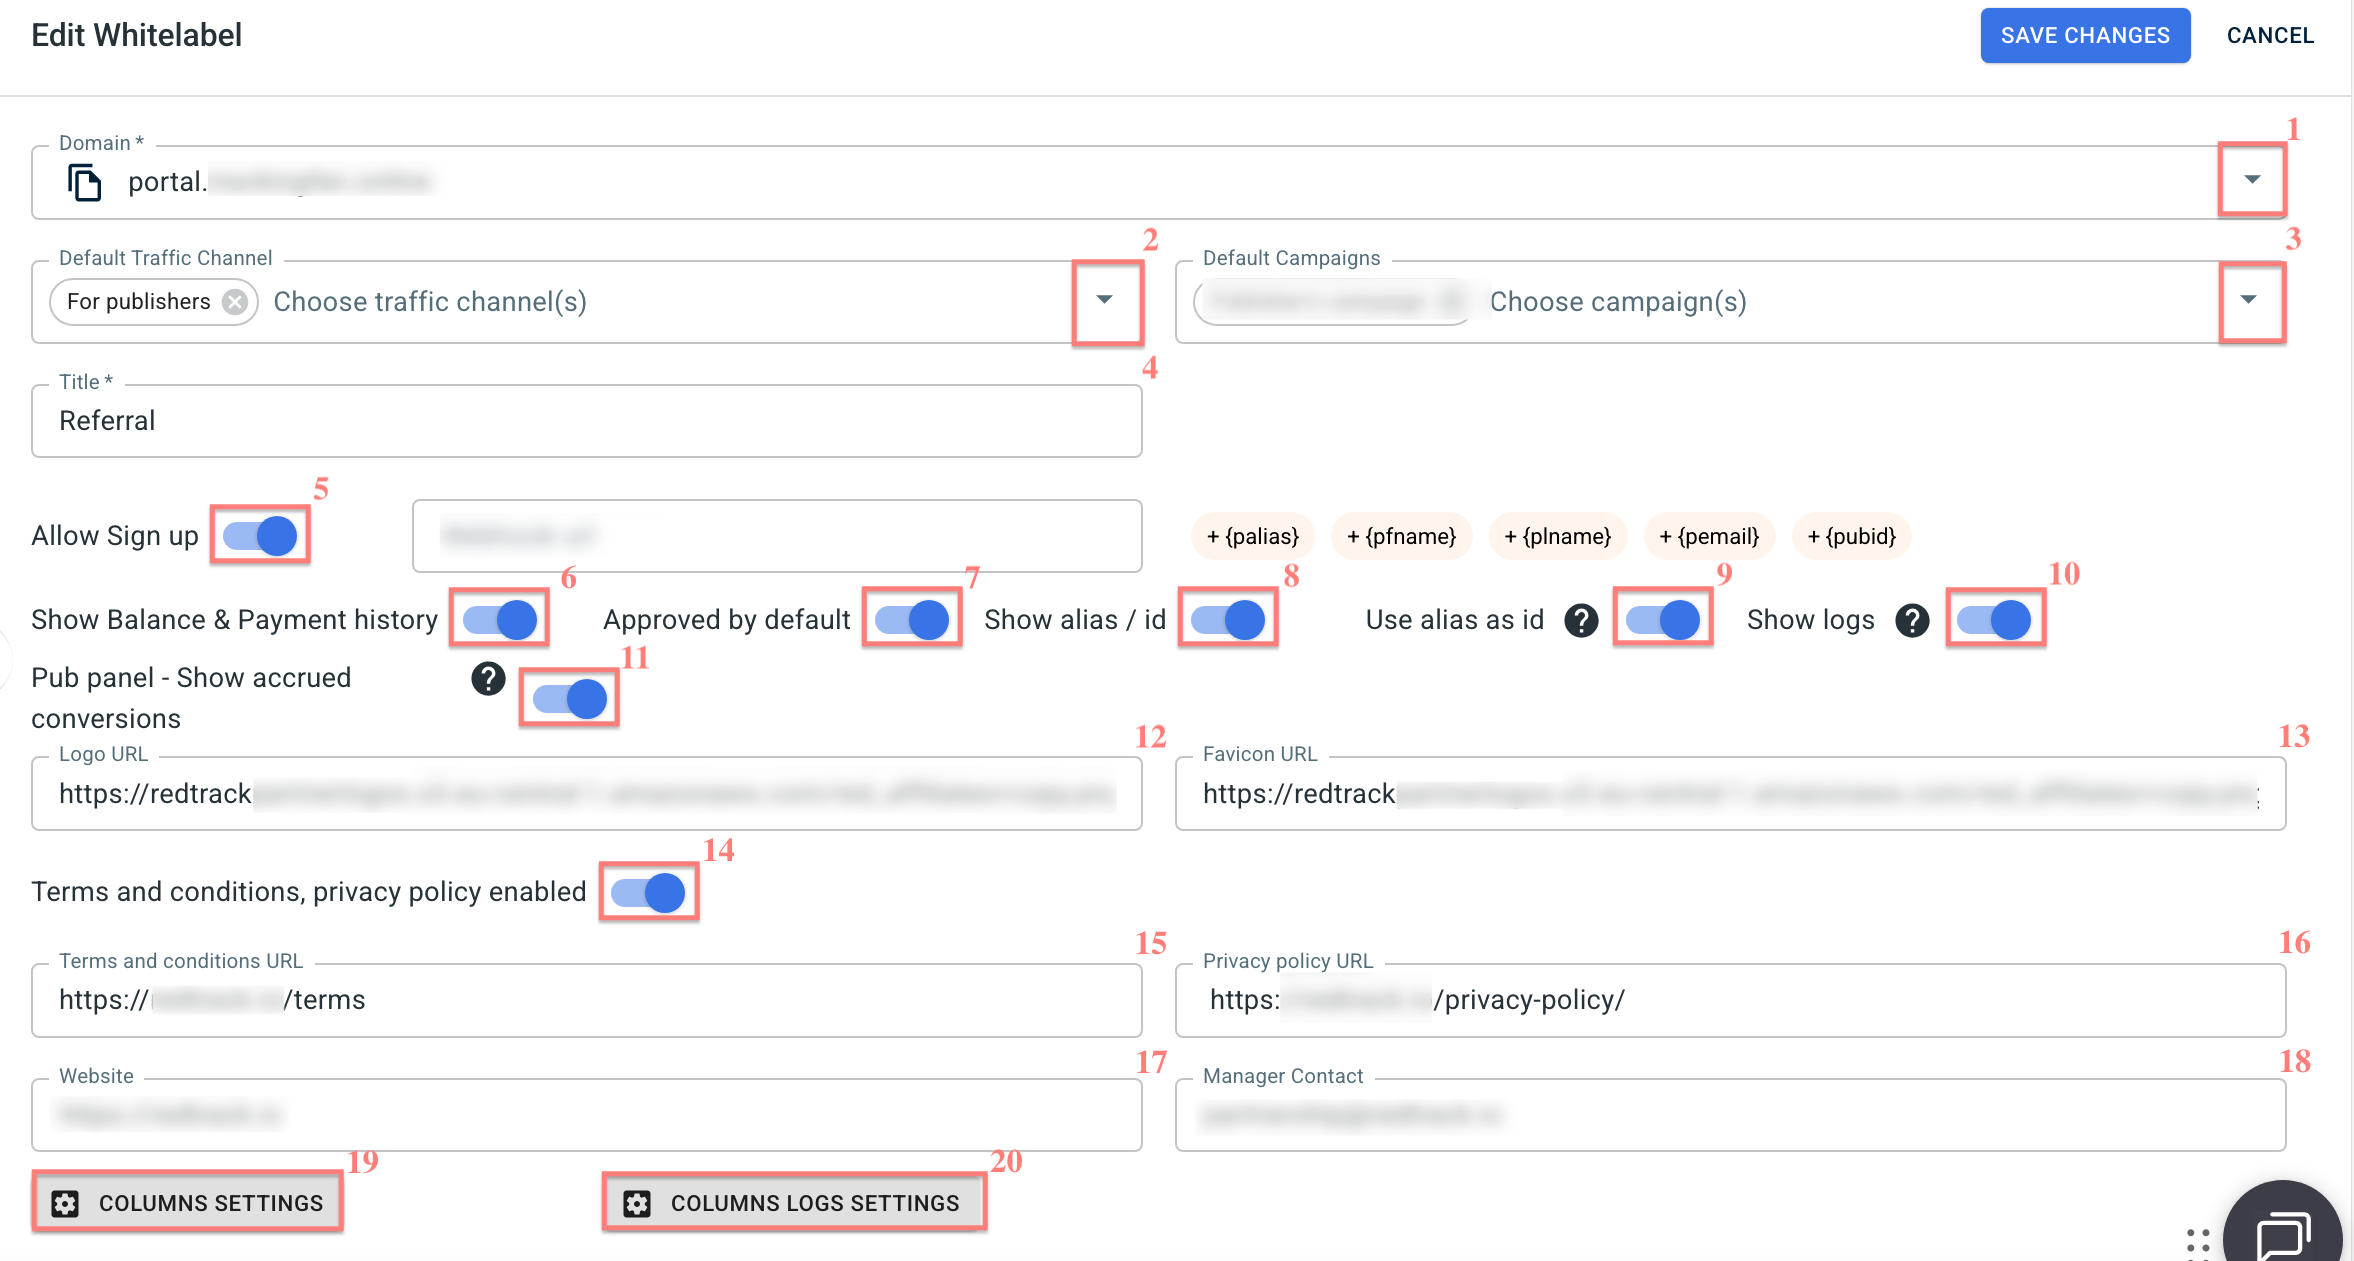
Fill in the fields in the New Whitelabel section. Basically, it’s the essential information for your Whitelabel:
Fields explained:
1. Domain – set the domain you have already added. If you have several domains, you can set several Whitelabels.
Multiple whitelabels are billed additionally. Please contact your Product Specialist for more information.
2. Default Traffic Channel – select the default Traffic Channel that will be assigned to partners within this Whitelabel. The selected channel determines which campaigns are visible and accessible by default.
3. Default Campaigns – use this option to limit publisher/partner access to specific campaigns within the approved Traffic Channel. Only the selected campaigns will be visible and available to them.
This is useful if you run paid traffic to certain campaigns under the same Traffic Channel but do not want publishers/partners to access those campaigns.
4. Title – this is the name of the panel for your publishers/partners.
5. Allow Sign up – enable this toggle to allow new publishers/partners to register in your whitelabel panel. If disabled, new user registrations will be restricted.
6. Show Balance & Payment history – enable this toggle to display the account balance and payment history to your publishers/partners. If disabled, this information will be hidden from them.
7. Approved by default – enable this toggle to automatically approve new publishers/partners upon registration. If disabled, new registrations will require manual approval in your admin account.
8. Show alias/id – enable this toggle to display the unique alias (ID) assigned to each publisher/partner account. If disabled, the alias/ID will be hidden from them.
9. Use alias as id – enable this toggle to show a readable unique identifier in a publisher’s/partner’s tracking link.
10. Show logs – enable this toggle to display the postback log to your publishers/partners.
11. Pub panel – Show accrued conversions – when enabled, publishers/partners will see only the conversions with assigned payouts in their reports within the Pub Panel.
12. Logo URL – your panel logo. Generate a URL for your logo using any tool that lets you generate an image link. The Whitelabel logo image should be square.
13. Favicon URL – your panel favicon. Generate a URL for your logo using any tool that lets you generate an image link. The Whitelabel favicon image should be square.
14. Terms and conditions, privacy policy enabled – enable this toggle to display your custom terms and conditions and privacy policy to affiliates in the whitelabel panel.
15. Terms and conditions URL – enter the link to your terms and conditions page.
16. Privacy policy URL – enter the link to your privacy policy page.
17. Website – enter the link to your website.
18. Manager Contact – enter the account manager contact, if any.
19. Columns settings – select which data columns you want to display to your affiliates in their reports.
20. Columns logs settings – select which columns should be displayed in the “Conversion Logs” tab of the branded portal.
Payment request section
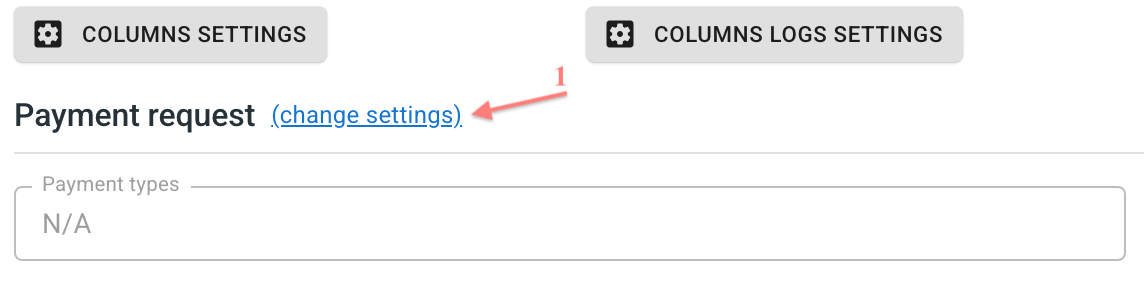
To set the conditions for a payment request, fill in the information in the Payment request section:
1. Click Change settings next to the Payment request name:
2. Enter a Company name and details → select the available payment types and minimum payout amount for them → choose Payment terms → choose the notification option → Apply:
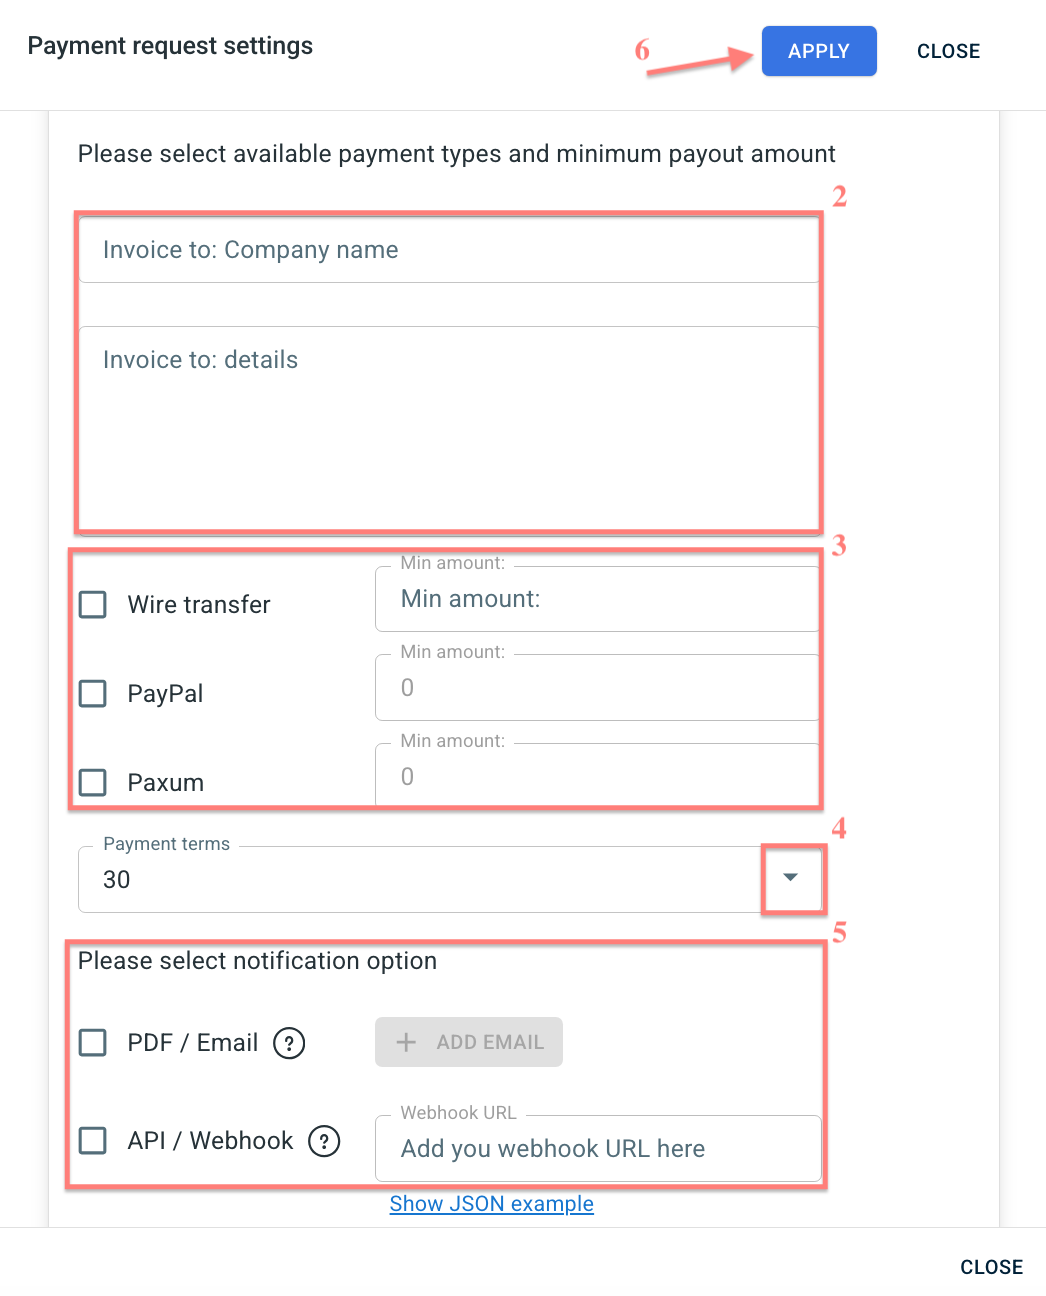
3. Once you’ve applied the changes, the selected options will be depicted in the following fields:

● The desired notification option is the way you will receive a notification of the requested payment.
Customize login and signup page section
To customise the login and signup page, act as follows:
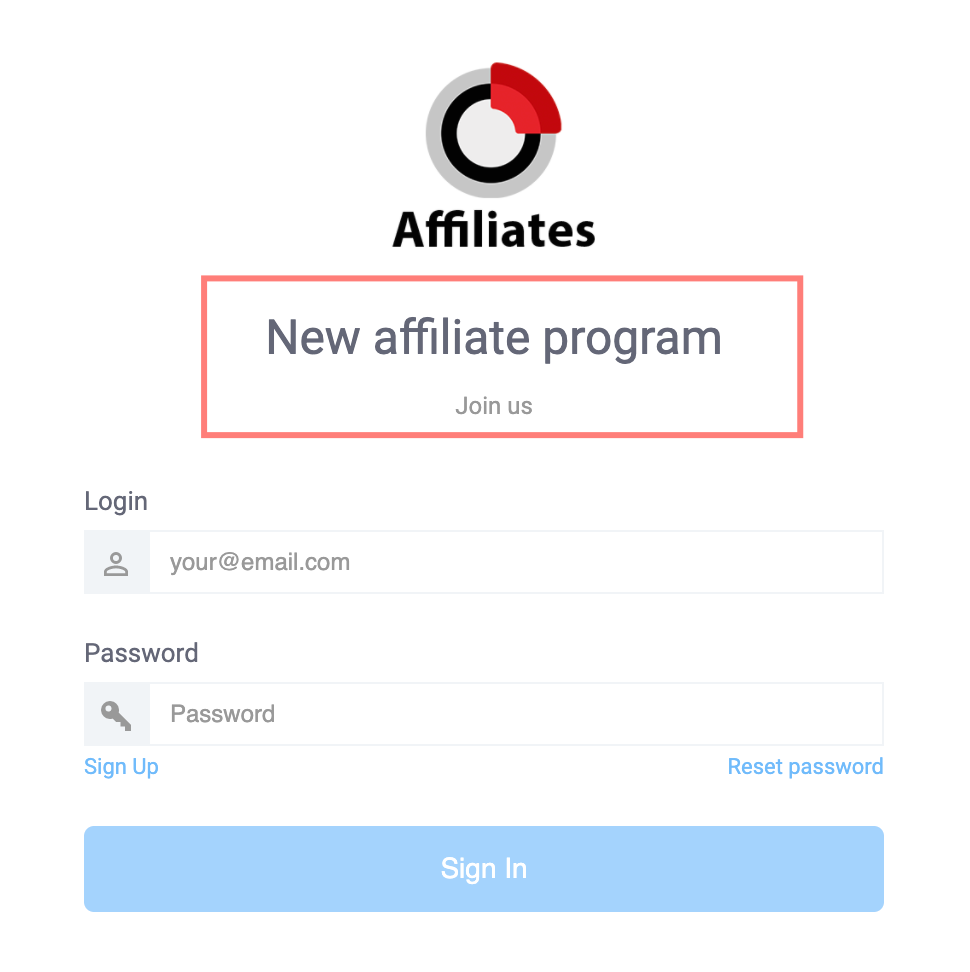
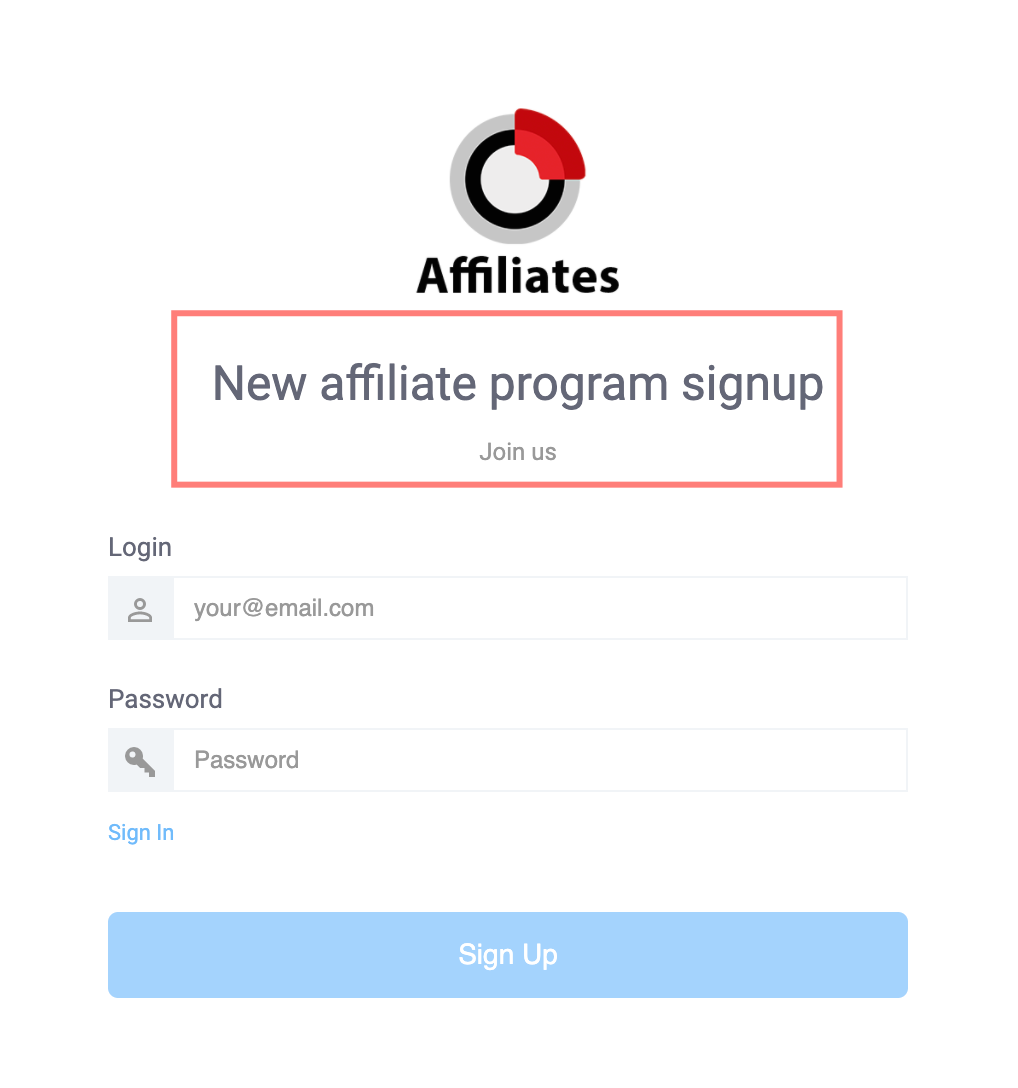
1. Fill in the fields in the section Сustomize login and sign up page (texts in the fields below are just an example; it’s up to you how to customize Login and Sign-up pages):

2. This is how publishers/partners will see it:
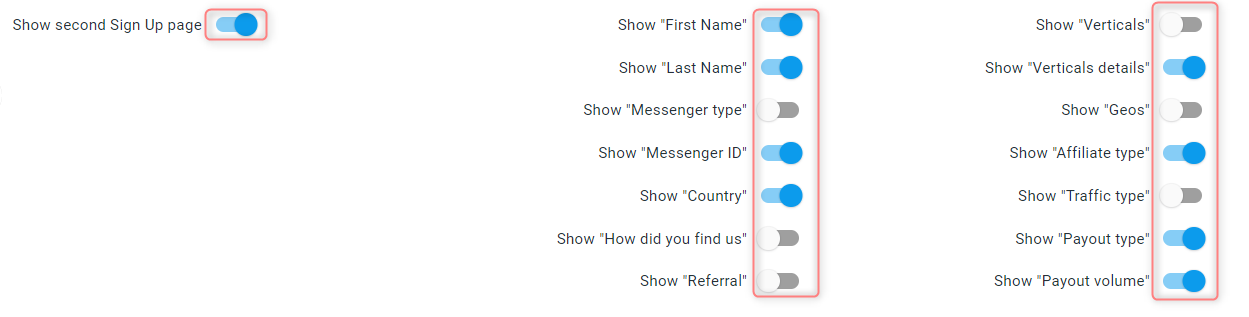
3. Enable the Show second Sign Up page toggle if you want to collect more information from the publishers/partners during their signup, then enable the toggles on your right to decide what information you want to collect:
Customize e-mails section
There are 6 types of email notifications available for customization:
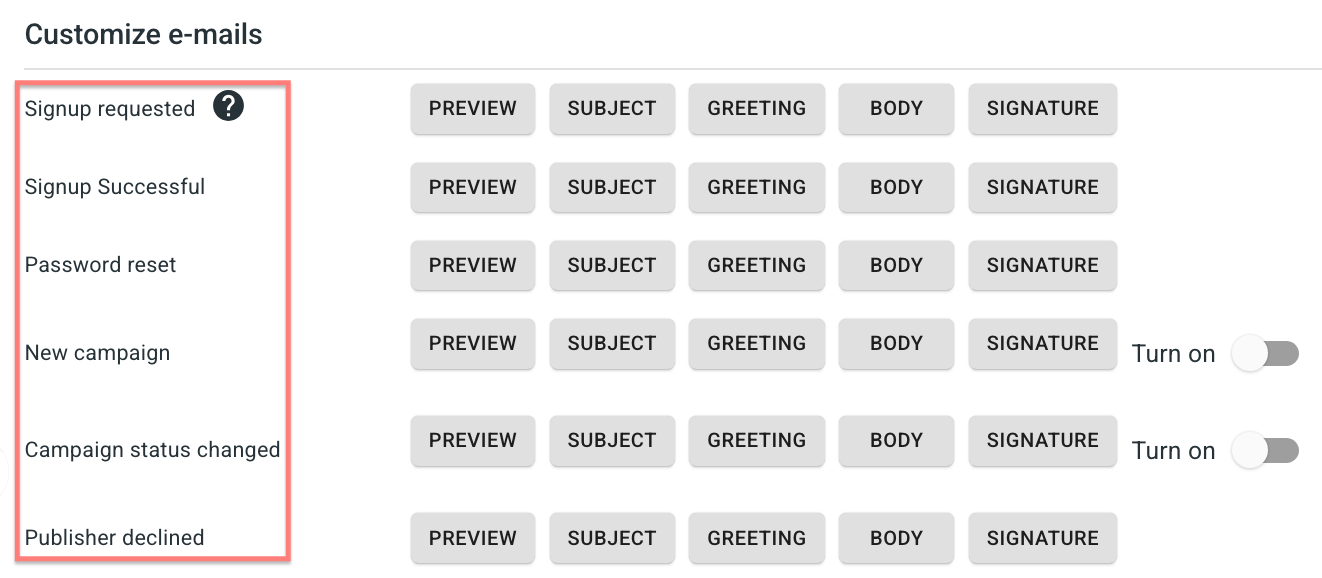
Signup requested – email for manually approved registrations.
Signup Successful – email for automatically approved registrations.
Password reset – password reset notification.
New campaign – notification on a newly created campaign.
Campaign status changed – notification on an existing campaign status change.
Publisher declined – notification about a declined publisher request.
The structure for each e-mail notification type is the same. To customize a certain e-mail type, act as follows:
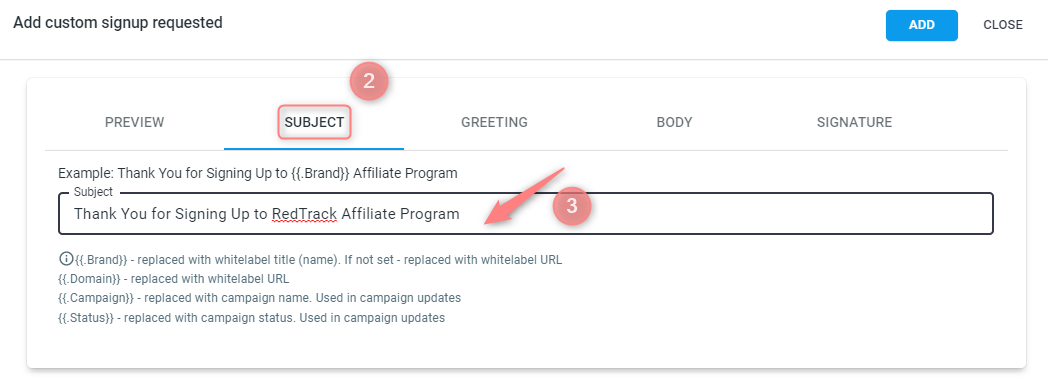
1. Click on the Subject button next to the chosen e-mail type:

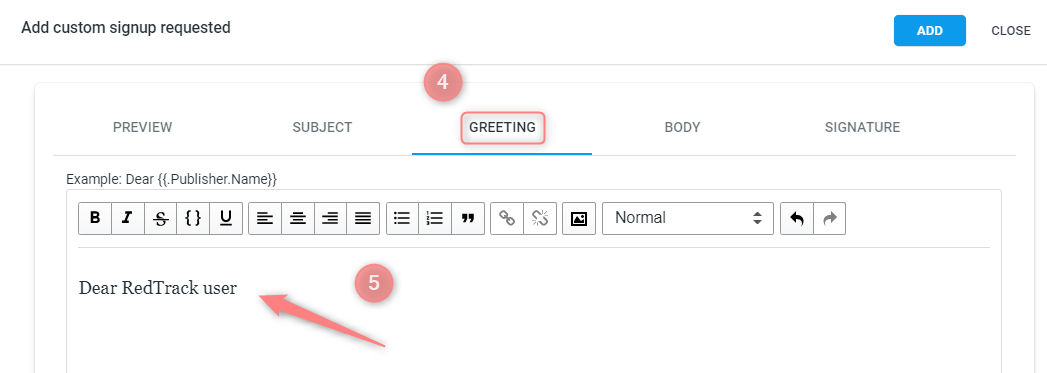
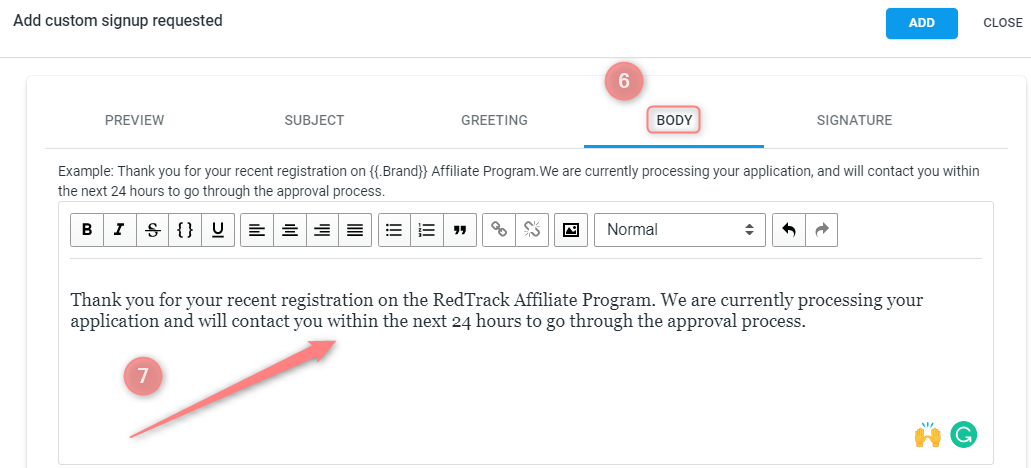
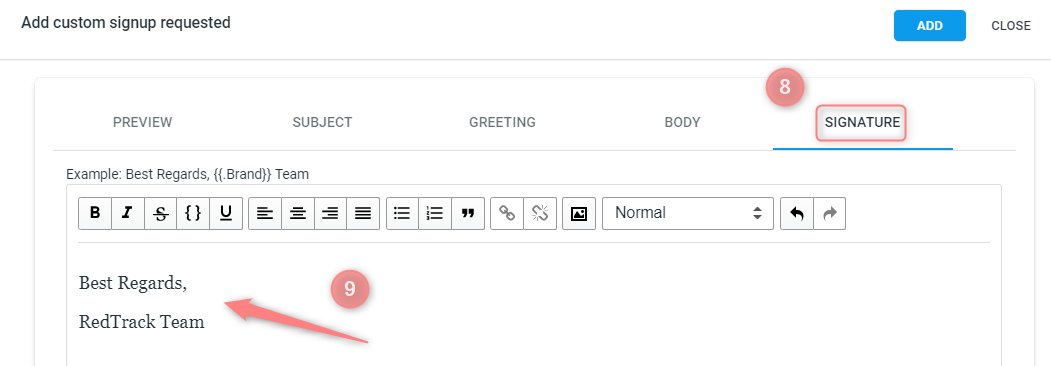
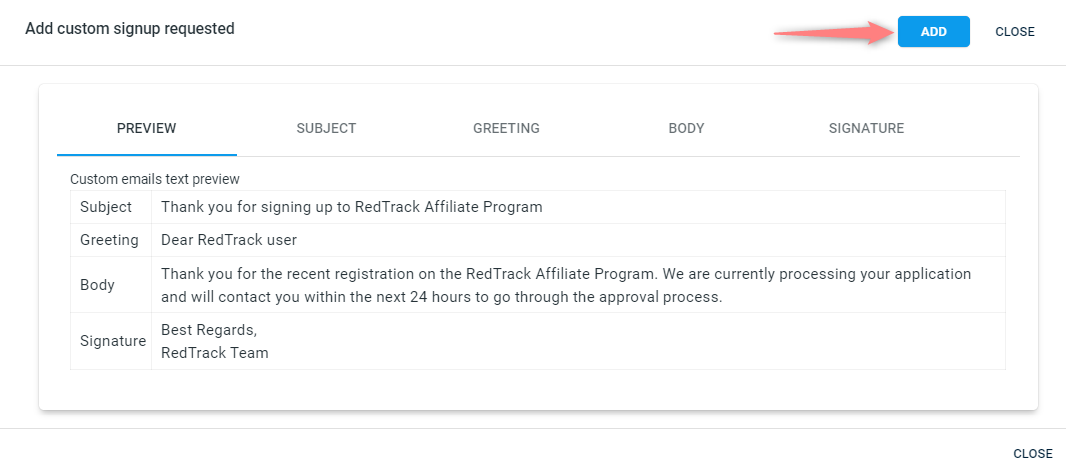
2. Add the needed information to the Subject, Greeting, Body, and Signature tabs:
3. See how it looks in the Preview type, and if the added text is Ok, press Add to apply the changes. This is what your publisher/partner will receive when the target action triggers the email notification:
Referral program section
The Referral Program allows publishers to earn additional commission by referring new publishers to your platform. When enabled at the Whitelabel level, the referral program becomes available for all publishers within this Whitelabel. For more details, go here.

Multiple Postbacks section
Multiple Postbacks feature presupposes that only certain conversion types (chosen by the branded portal Admin) will be sent to the publishers/partners.
To apply this feature:
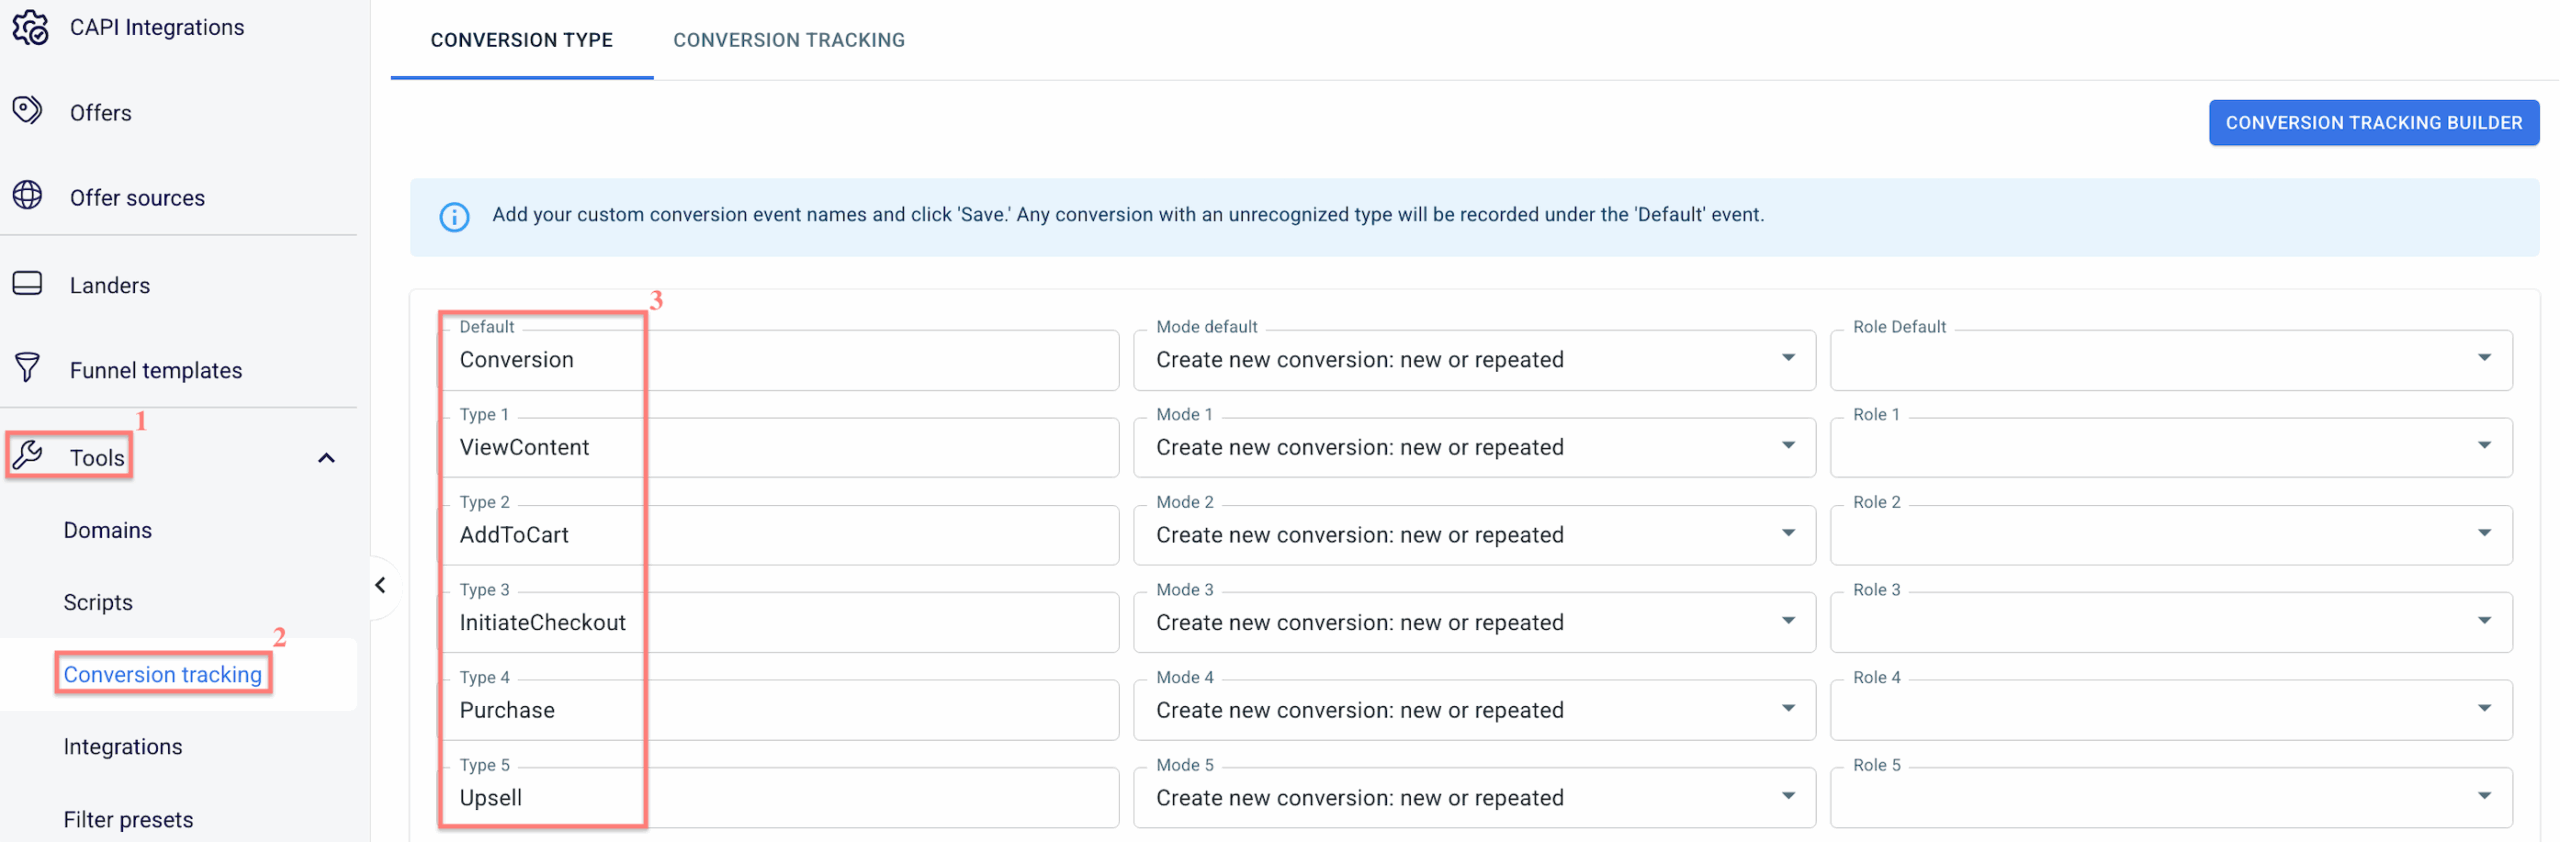
1. Go to Tools → Conversion tracking → add the needed conversion types → click Save:
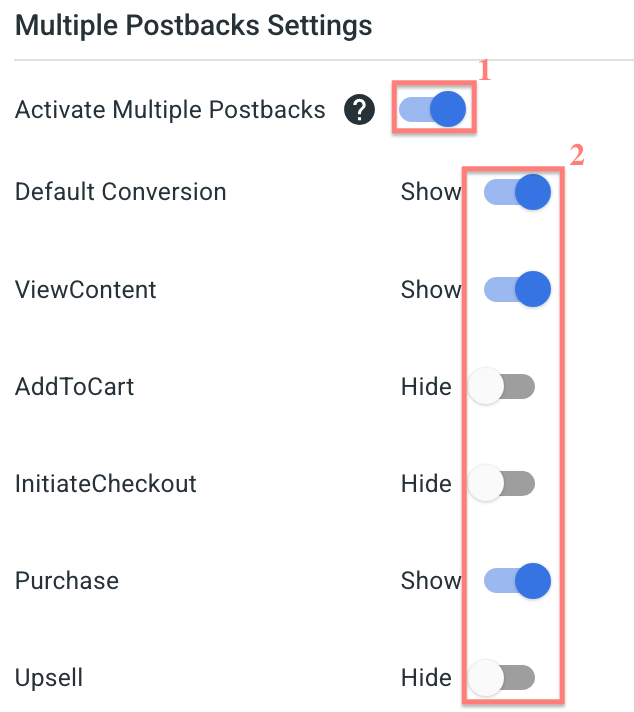
2. Turn on the Activate Multiple Postbacks toggle → from the list of added conversion types, enable the ones you want your publishers/partners to see:
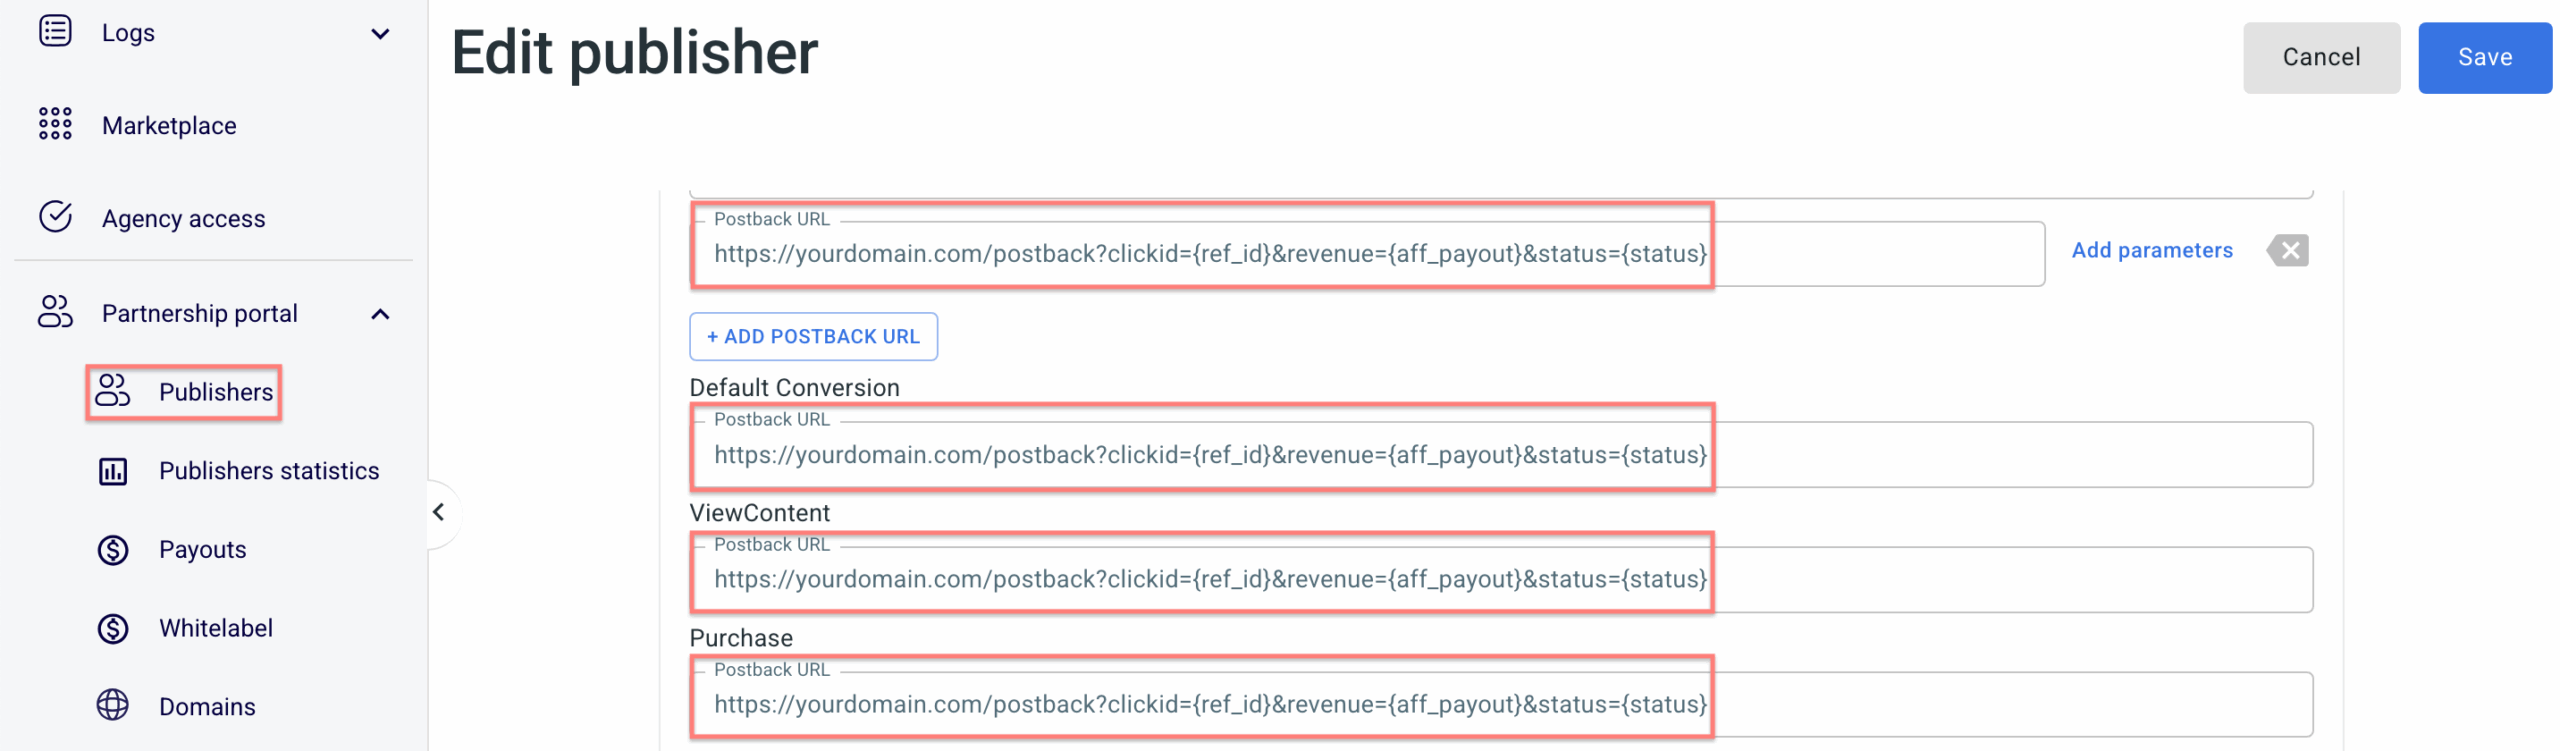
When Multiple Postbacks is enabled, postbacks are separated by conversion type — including the Default conversion type. As a result, you must manually configure a separate postback URL for each conversion type across all publishers, otherwise conversions may not be sent correctly.
Google Tag Manager section
You can add your GTM code to the Whitelabel if needed:
