

Facebook: domain verification
Due to the new Facebook policy, you should now verify the domain you will be using for your Facebook campaign. This is an action that should be done on your Facebook account.
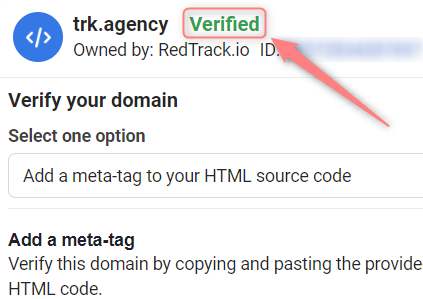
– via meta tag
– via the uploaded HTML file
– via DNS record
For details on the domain verification procedure on Facebook, check out the following guides:
Domain verification in Meta Business Manager
Methods of domain verification on Facebook
The guide below will show the DNS record management method.
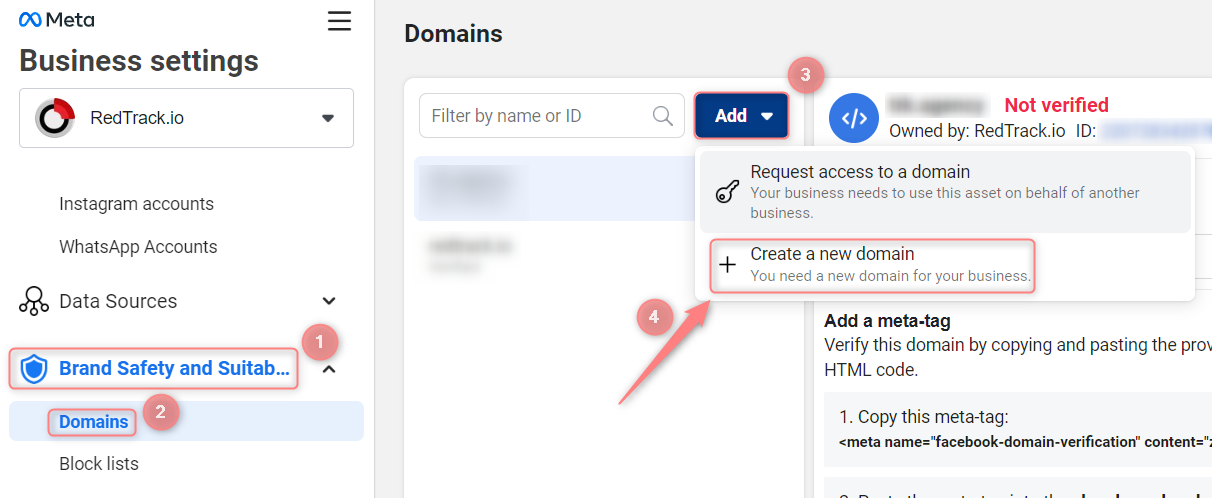
1. Business Manager → Brand Safety and Suitability → Domains → Add → Create a new domain:
2. Paste your domain → Add:
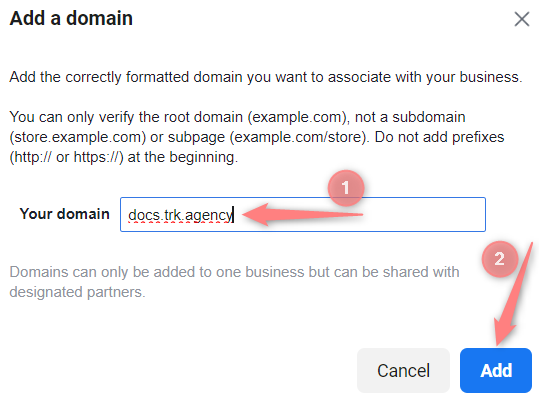
For example, website.com, not www.website.com, not https://website.com.
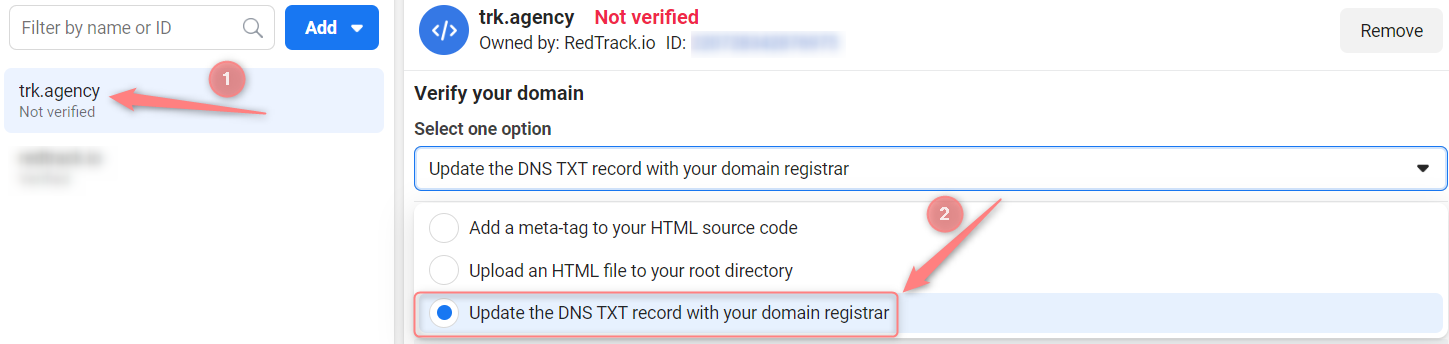
3. Select the target domain → choose the DNS verification method:
4. Copy your unique TXT value:

5. Go to your domain registrar → open DNS settings and add a new record with the following values:
Host: @
Points to: your unique TXT record from point 4
TTL: the lowest possible
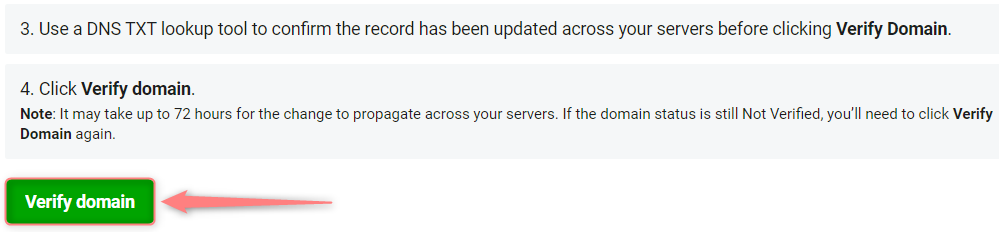
6. Give it some time for the data replication to happen (approximately 1 hour), then verify the domain in your Facebook domain settings:
7. Associate the domain with your page:

8. Once you are done with the Facebook part, you can proceed with the rest of the setup.