RTX Platform and RedTrack
RTX Platform is the leading exchange for performance marketers focusing on boosting your ROI with captivating Push, Native, and Full-page advertising, supercharging your ROI and grow your audience with captivating ad units, fully customizable campaigns, and traffic that converts at a massive scale for any offer.
Integration
Important before you start
Before you proceed with the integration, make sure to have the already added:
- Custom tracking domain
- Offer source and Offer (if you’re an Affiliate)/ Brand and Website (if you’re an Advertiser)
- Conversion types you’re planning to work with
Integration steps
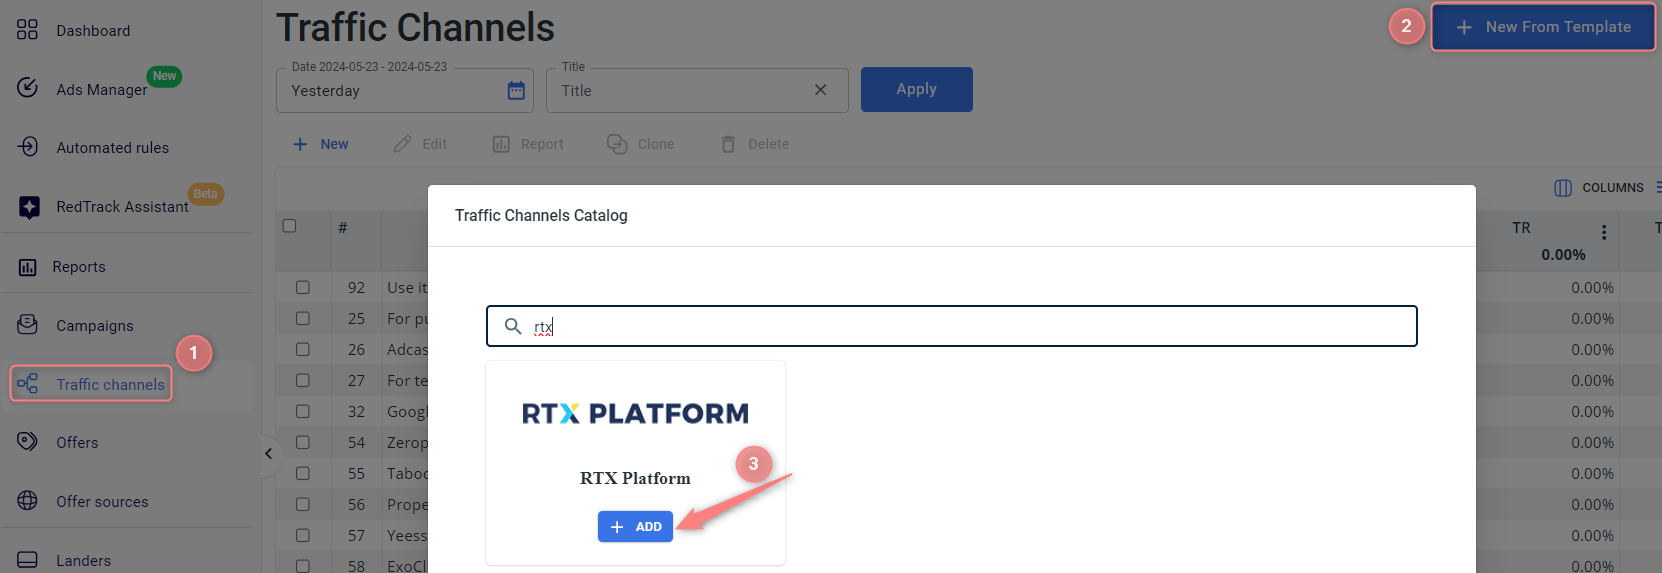
1. Add RTX Platform template to RedTrack.
1.1 Traffic channels → New from template → find RTX Platform → Add:
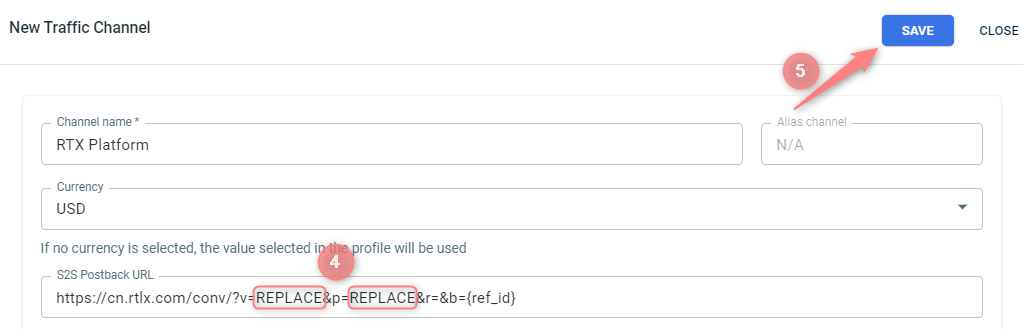
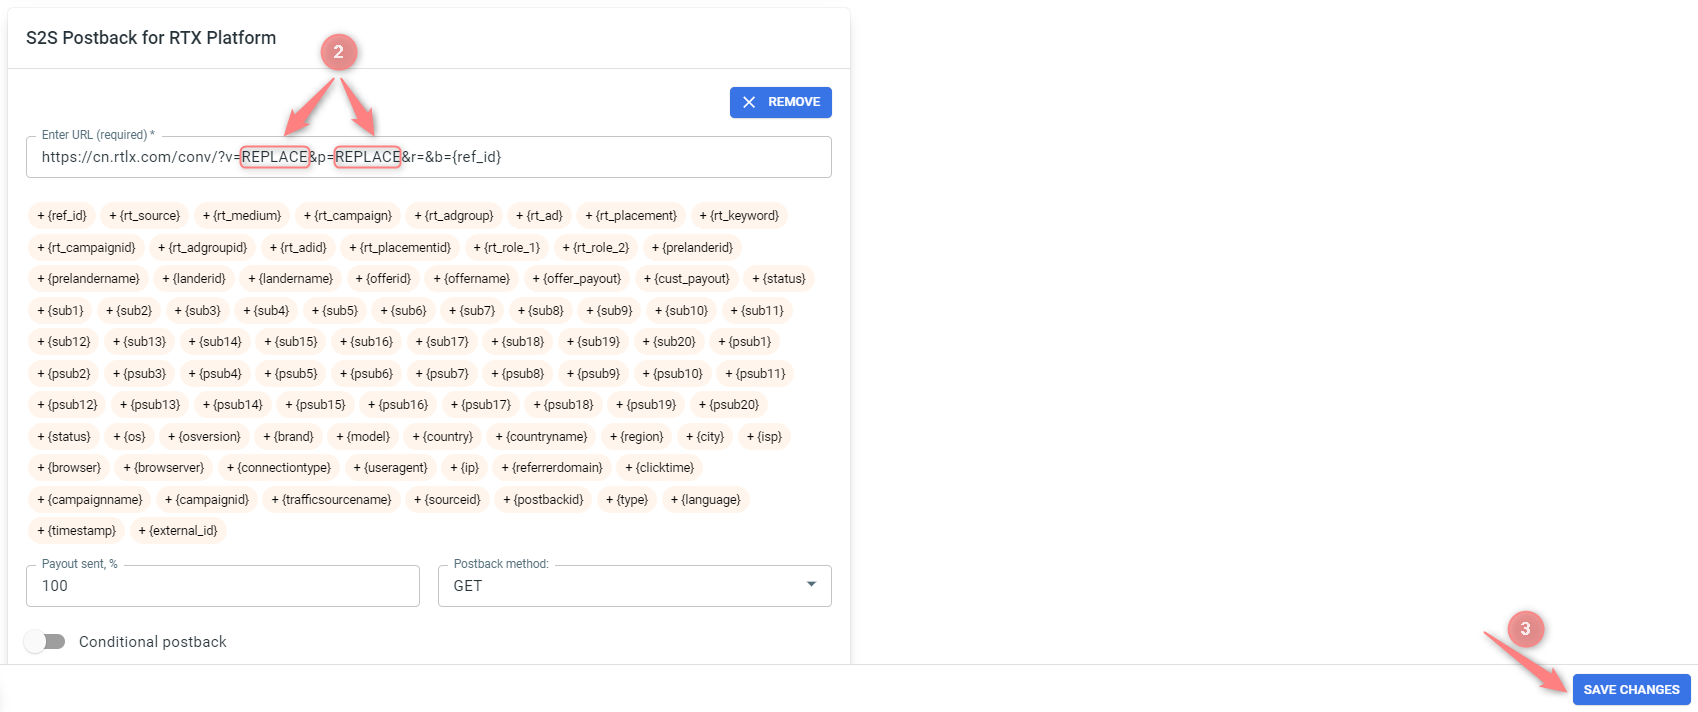
1.2 Replace the REPLACE parts in the Postback URL with the unique values from your RTX Platform Campaign → Save the template:
2. Set up a campaign in RedTrack with the RTX Platform traffic channel.
Campaigns→ Create new campaign → use this guide (for Affiliates)/ this guide (for Advertisers) to help you create the campaign with RTX Platform as your traffic channel → once the Campaign is added, your tracking link is automatically created, copy Click URL:
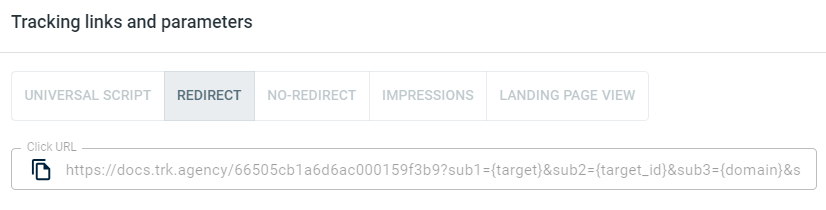
– Universal script
– No-redirect
– Impressions
3. Set up the tracking on the RTX Platform side.
3.1 Log into your RTX Platform account. For a Pops or Push campaign on RTX Platform, you will have the “Pixels & Tracking” section at the bottom of the Campaign Settings page:
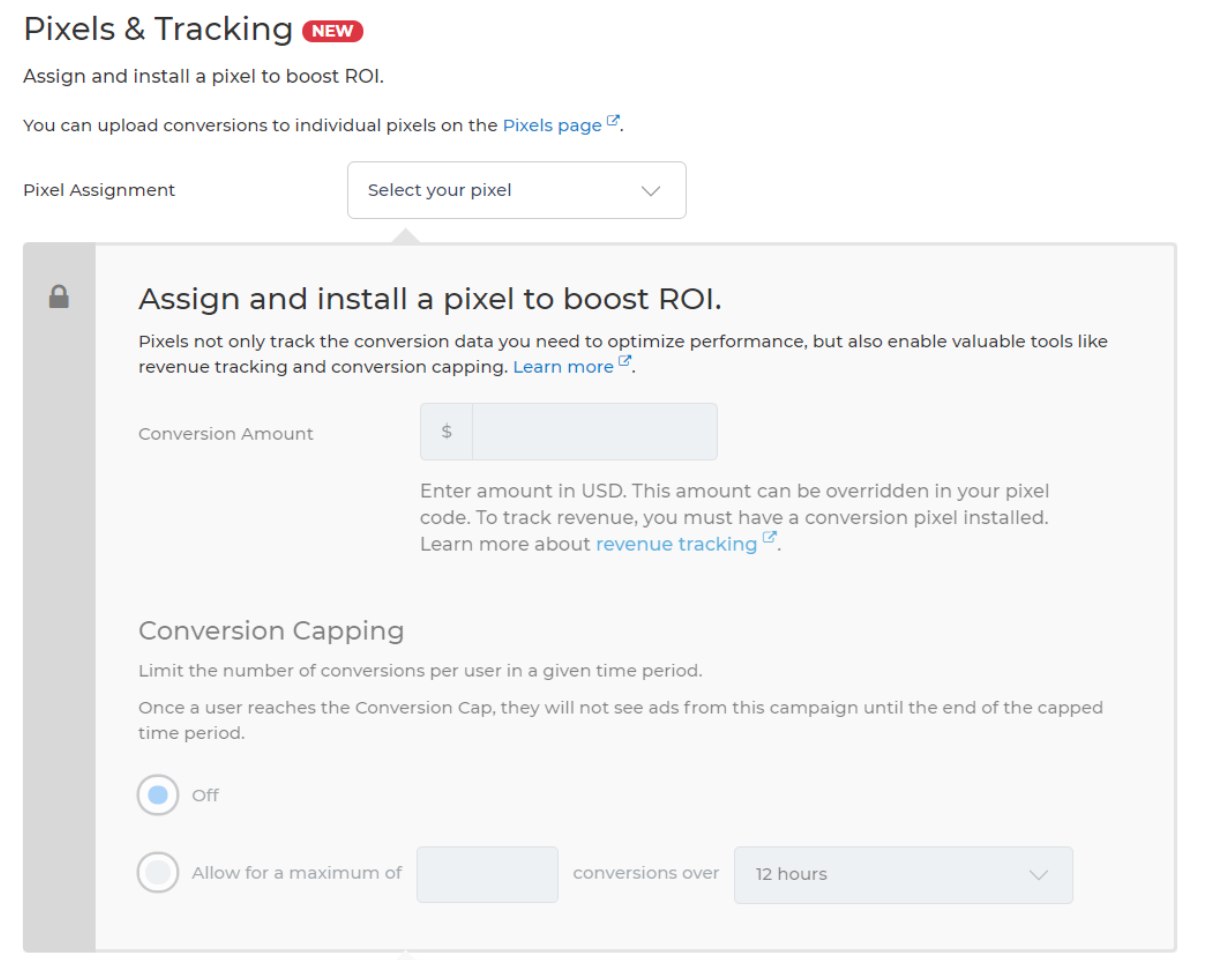
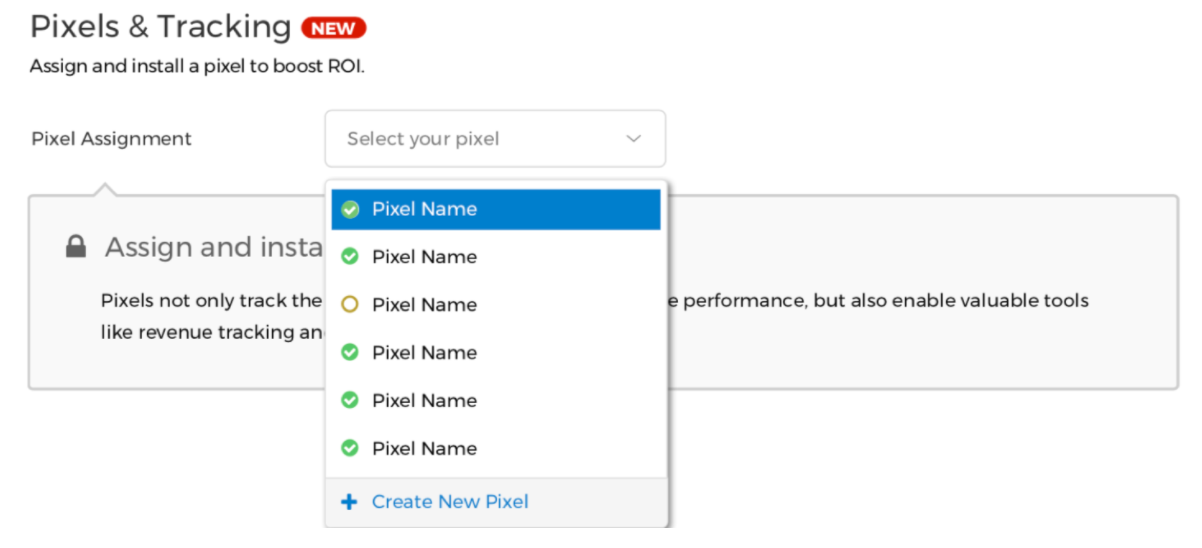
If you already have a pixel created for the conversion event type this campaign (i.e., Form Submit, Lead, Purchase, Pageview, etc.), you can select it from the drop-down menu next to “Pixel Assignment”.
- If you see it with a green checkmark, the pixel has already fired a conversion to RTX Platform before.
- If it is yellow, the pixel has never fired a conversion before.
- If you do not have a pixel yet, you will need to create one with the following steps:
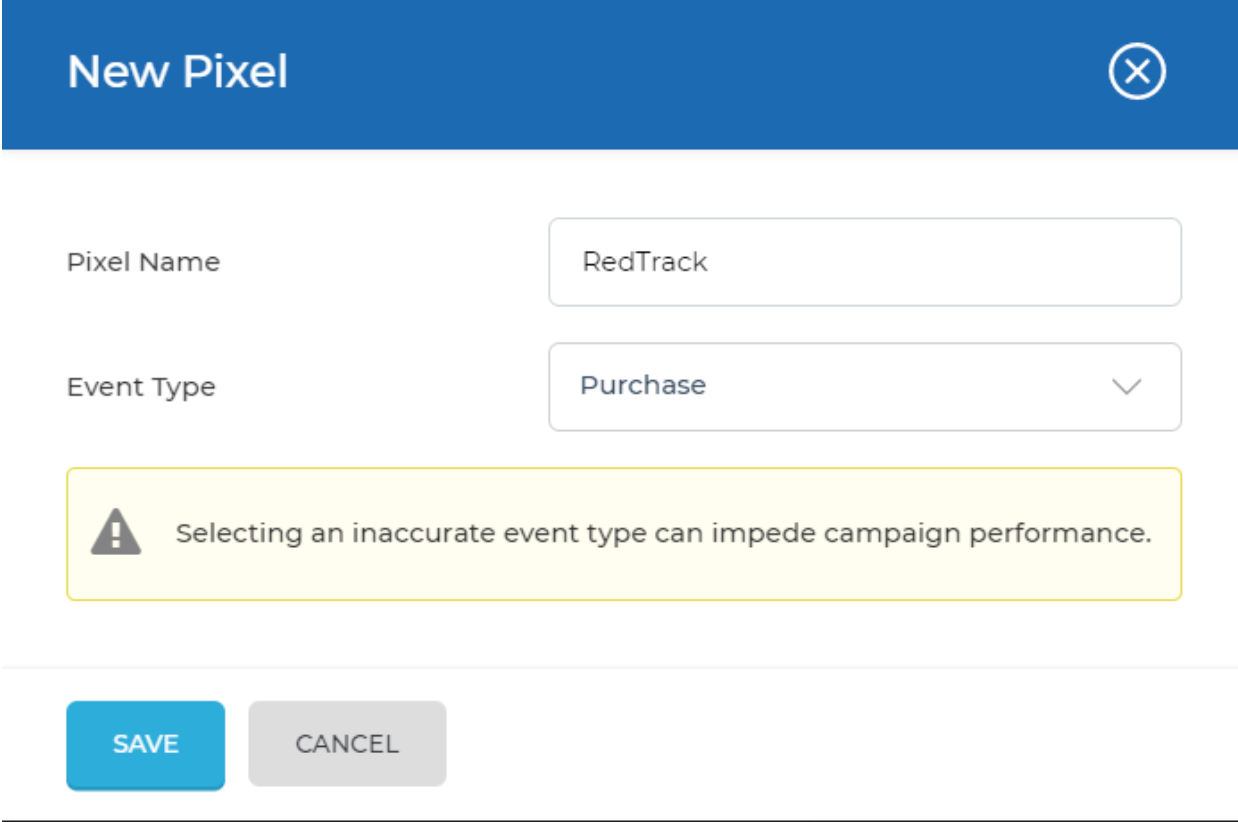
Select the Create New Pixel in a “Pixel Assignment” drop-down menu:
3.2 Give your Pixel a name and choose the action type you want to track (Form Submit, Lead, Purchase, Sign-Up, Pageview, or Other):
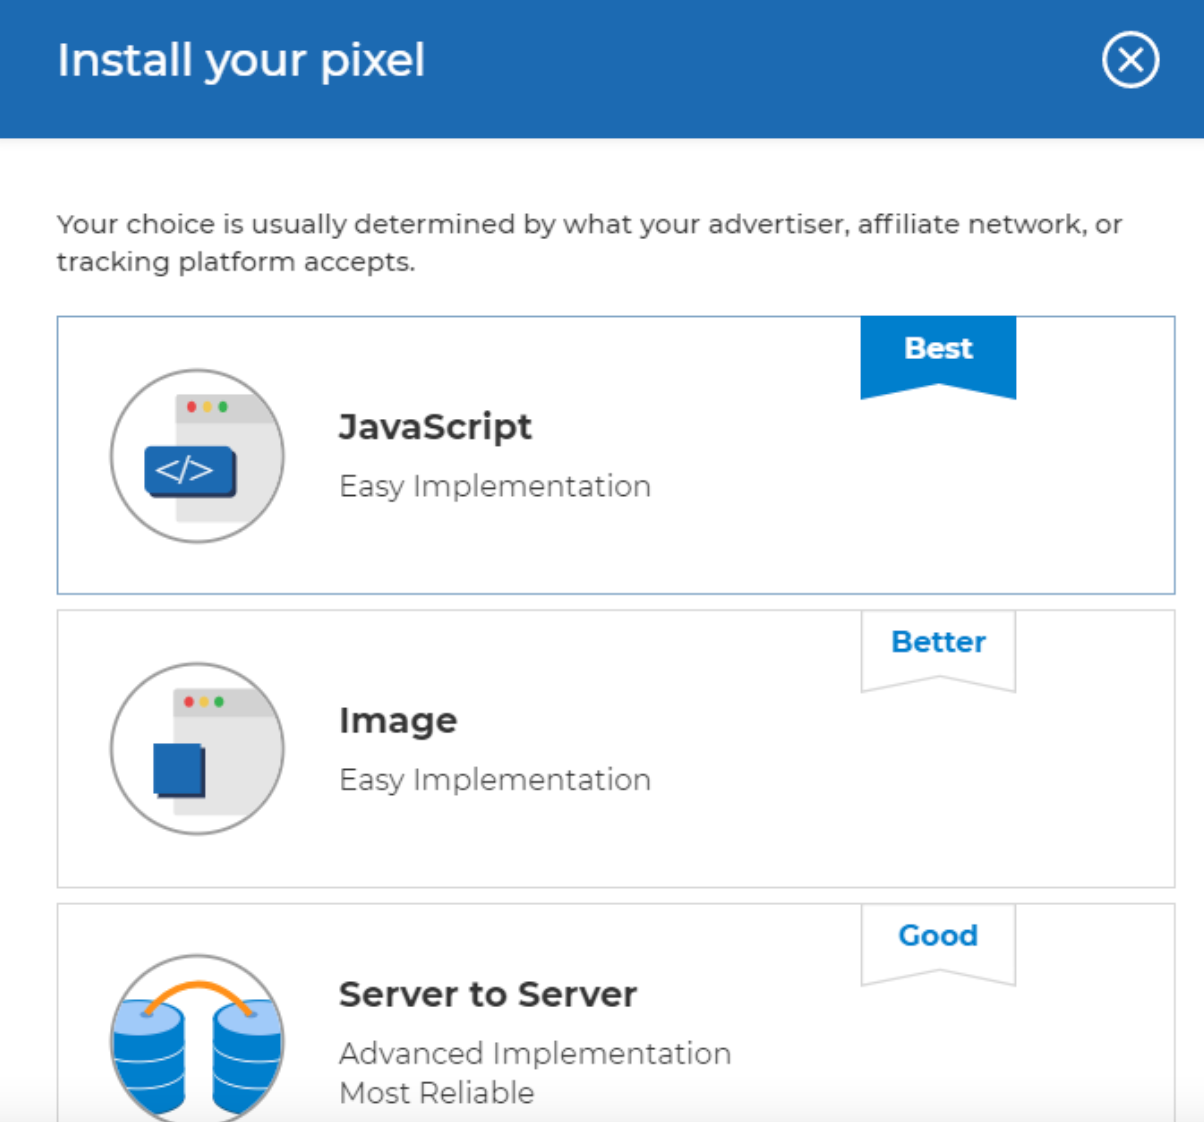
3.3 Choose the “Server to Server” option for a pixel type → copy the pixel link:
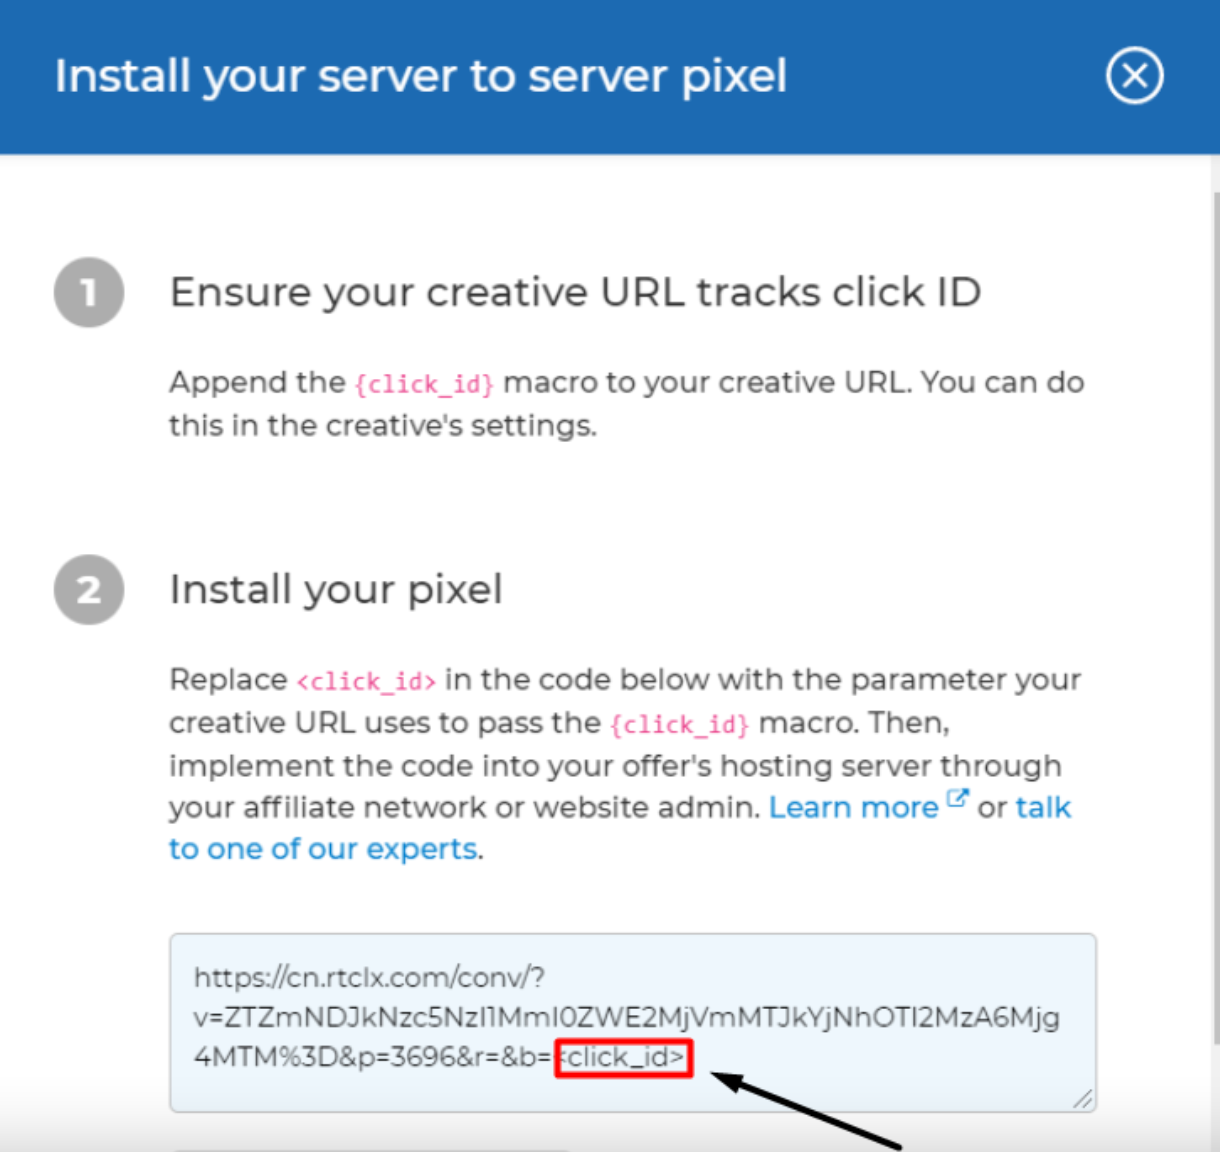
https://cn.rtclx.com/conv/?v=ZTZmNDJkNzc5NzI1MmI0ZWE2MjVmMTJkYjNhOTI2MzA6Mjg4MTM%3D&p=3696&r=&b=<click_id>
To make it work with RedTrack, replace the last token with {ref_id}, so the final URL looks like this:
https://cn.rtclx.com/conv/?v=ZTZmNDJkNzc5NzI1MmI0ZWE2MjVmMTJkYjNhOTI2MzA6Mjg4MTM%3D&p=3696&r=&b={ref_id}
NOTE!
RTX Platform provides separate Postback links for each Campaign, so you will need to copy a unique URL for each new Campaign you create in RTX Platform following this instruction.
4. Set up the postback URL in RedTrack.
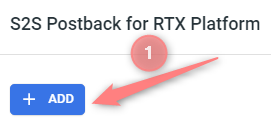
Go to Campaign settings (created within step 2) → scroll down to S2S Postback for RTX Platform → Add → check if all the needed values for the REPLACE parameters are in place → Save changes to the campaign:
▸ If you changed the Postback URL in the Traffic channel (added/removed some parameters to it), remember to manually update the link in Campaign settings as well, as it won’t be generated correctly automatically.
▸ Some Traffic channels require you to edit the Postback with specific parameters for each Campaign (e.g., the goal for Exoclick or ap_key for Go2Mobi). If the field remains blank or something like “REPLACE” is stated, that means you need to define the Postback conditions manually.
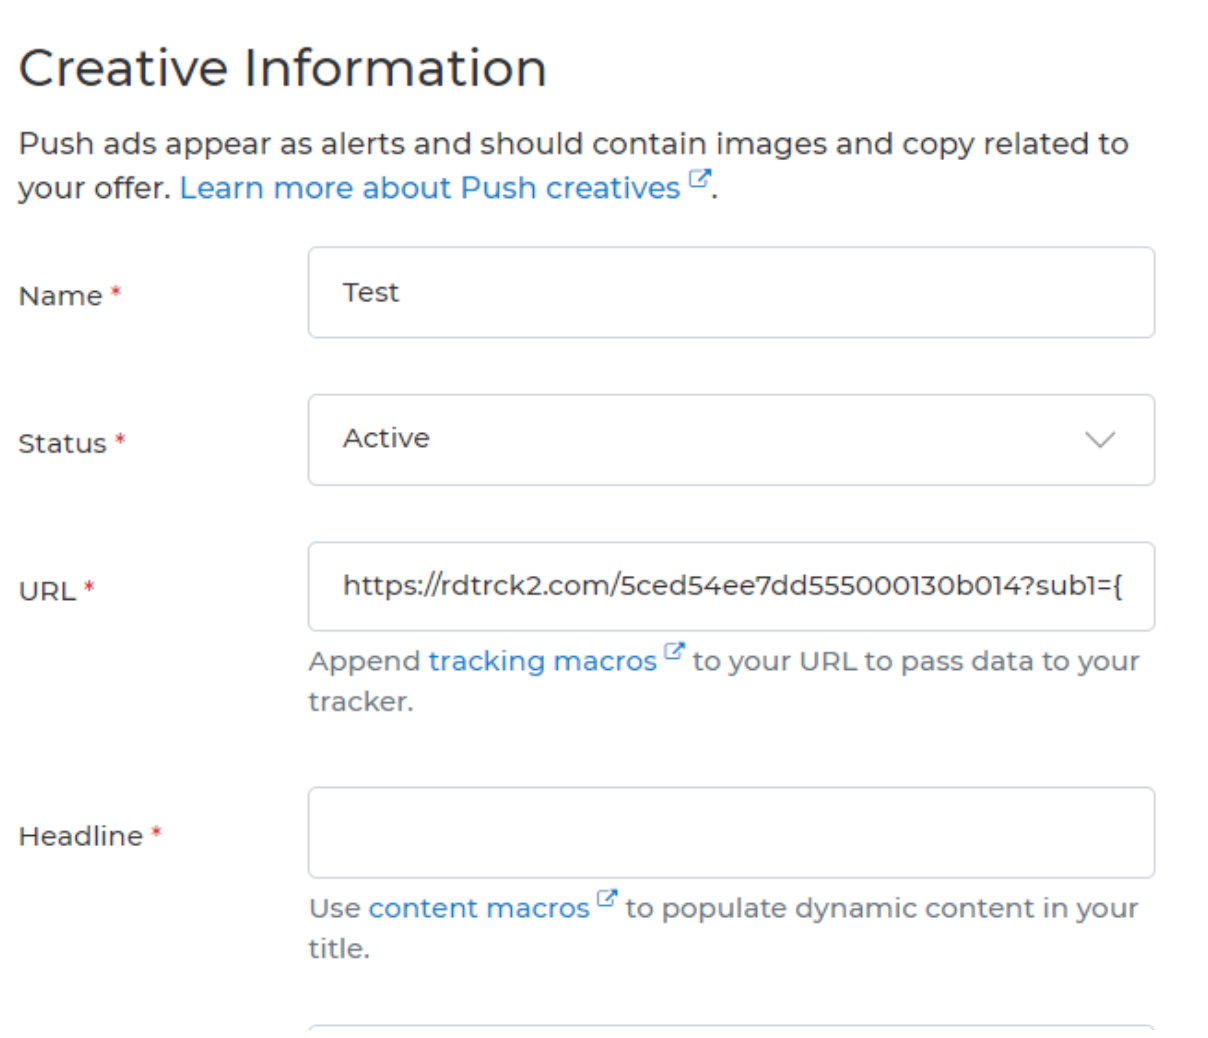
5. Launch a campaign at RTX Platform.
When creating your campaign in the RTX Platform account during the Create your Creative step insert the Click URL (copied in step 2) into the URL field: