
Affiliates: creating campaign
What is a campaign?
Campaign in RedTrack is a set of rules and elements that link together a traffic channel where you buy the traffic and the offers that are being promoted. In RedTrack terms, a Campaign works as the combination of an offer, a landing page, a traffic channel, a domain, filters and the automation you have set up.
The main purpose of creating a Campaign in RedTrack is to get the final link you will send the traffic to. This link allows you to route your traffic, collect all the possible data on the clicks and have the option to change anything inside without changing the link itself for the traffic channel (we know how important it is).
How to create a campaign?
1. Prerequisites for your campaign
Before you proceed with campaign creation make sure you already have the following elements in place:
1. Add a CNAME record pointing to your RedTrack default domain in your domain registrar.
2. On the left menu go to Tools → Domains → Create new domain.
3. Add the integrated domain to your RedTrack account and activate the Free SSL option.
Traffic channels → New From template/New From Scratch → Add.
1. Offer sources → New from template/New from scratch → find the affiliate network you work with/add your custom name → Save.
2. To add your offer link, go to Offers → New → choose the offer source from the list, add the offer URL → save the changes.
For example: &affsub={clickid} where {clickid} is RedTrack parameter
Landers → Create new lander → use this guide to help you with details.
2. Compile your campaign
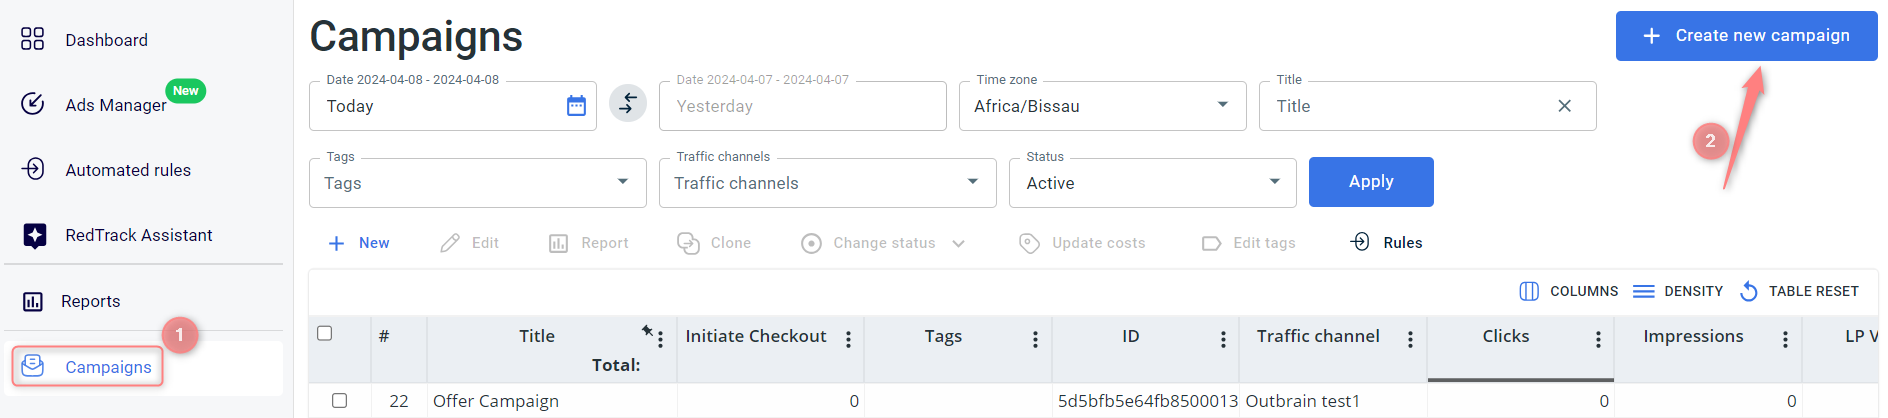
1. Campaigns → Create new campaign:
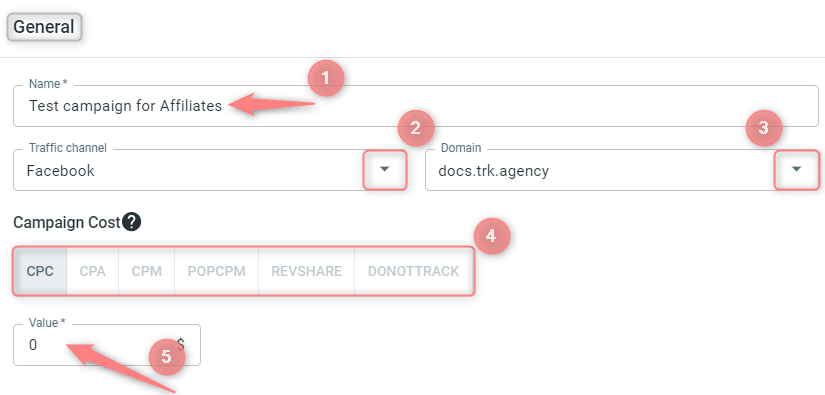
2. Edit/adjust each the needed blocks as per the tips below:
1. Give your Campaign a name.
2. Choose the already added Traffic channel.
3. Select the corresponding custom tracking domain.
4. Press on the needed Campaign Cost model and fill in the Value accordingly:
You don’t need to add/remove/adjust anything here at this point. This block will automatically generate the links and the tracking parameters for you to copy and paste into your platform settings later.
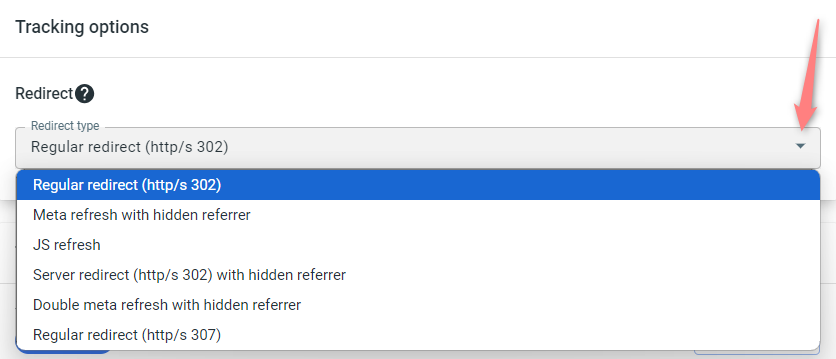
This option can be changed if you plan to work with a redirect link. Be careful, as not all the traffic channels support it.
Redirect types decide how redirection to the offer is handled and whether the referrer data is passed through. First of all, click here to learn how the hidden referrer works and choose the required redirect type based on their explanation below:
- “Regular redirect (http/s 302)” is a standard temporary HTTP redirect that sends a visitor directly to the desired location (the offer you promote). The referrer data is passed to the campaign endpoint.
- “Meta refresh with hidden referrer” presupposes that after the redirect happens, another redirect takes place with the help of an HTML meta tag. As a result, the referrer points to RedTrack, not the initial referrer.
- “JS refresh” is similar to the meta refresh type, but it’s fulfilled with the help of JavaScript. That being said, this type is not generally recommended for SEO because search engines can have difficulty crawling and indexing sites that rely on them.
- “Server redirect (http/s 302) with hidden referrer” means when redirecting on the side of the TDS header, the referrer gets hidden.
- “Double meta refresh with hidden referrer” is similar to “Meta refresh with hidden referrer” but this method involves using two meta refreshes to mask the original source of the traffic, making it more challenging to identify where the user initially came from.
- “Regular redirect (http/s 307)” is similar to “Regular redirect (http/s 302)” but it’s working more efficiently with old version browsers.
To sum up, Server redirect (HTTP/S 302) with hidden referrer is faster than Regular redirect (HTTP/S 302) and Meta refresh with hidden referrer. This is because a server redirect is processed on the server side, while a meta refresh and JS refresh are processed on the client side. Server redirects are faster because the server does the work of redirecting the request for you, whereas in a meta refresh or JS refresh the client has to do this work. Moreover, server redirects can be cached, making them even faster.


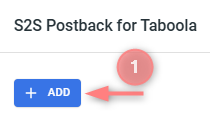
To add /edit the postback:
1. Go to the section S2S Postback for <your traffic channel> → Add → add/edit the postback URL (or multiple URLs if that’s the case) → make sure that all the needed values for the source parameters are in place → Save changes to the campaign:
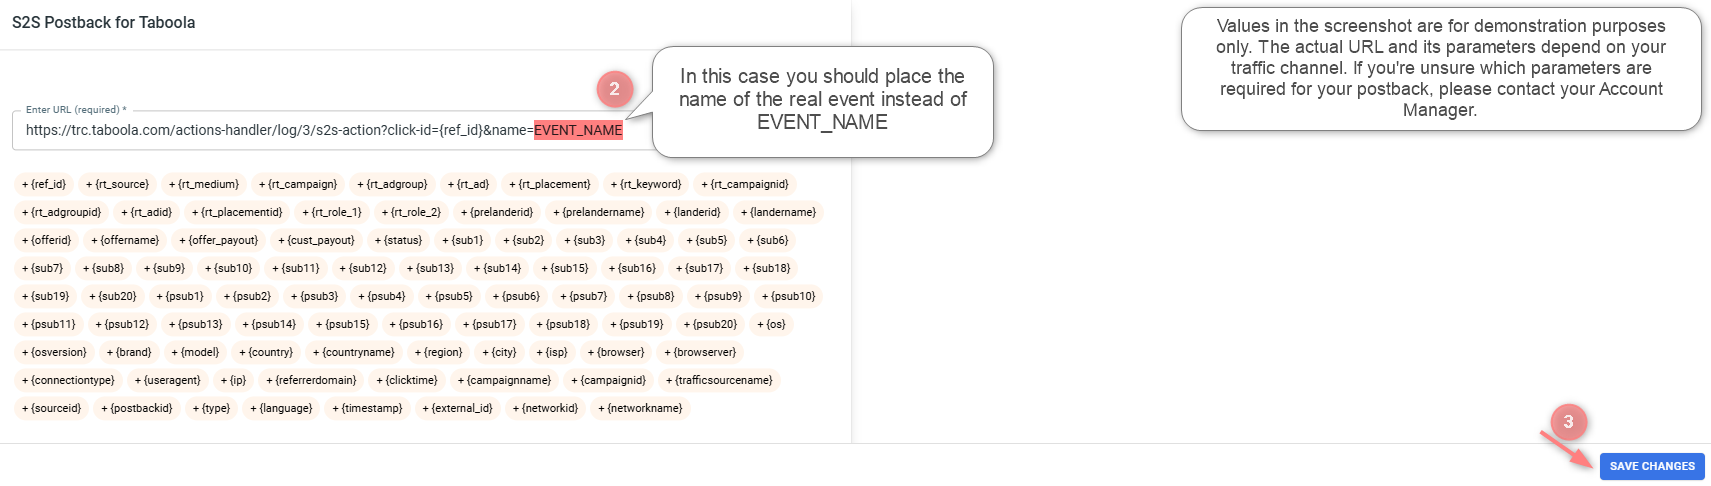
– If you change the Postback URL in the Traffic channel template (adding or removing parameters), remember to manually update the link in Campaign settings as well, as it won’t be generated correctly automatically.
– Some traffic channels require you to edit the postback with specific parameters for each campaign (e.g., the goal for Exoclick or ap_key for Go2Mobi). If the field remains blank or contains text such as “REPLACE”, it means you need to define the Postback conditions manually.
2. Follow this guide (“Conditional postback in the S2S Postback” section) to set up conditional postback, payout values, and postback method.
Refer to this article (“Conditional postback in the API Integration postback” section) to set up the API Integration conditional postback.
3. Add the needed funnels:
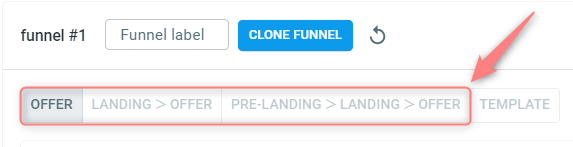
A funnel is a set of landing pages, offers, filters, auto-rules, and weights applied. You can add more than one funnel (and more than one Landing page and Offer) when creating/editing your Campaign. Clicks will be distributed between funnels (landing pages and offers) according to the weight. Consider this for the advanced tracking while conducting A/B (split) tests.
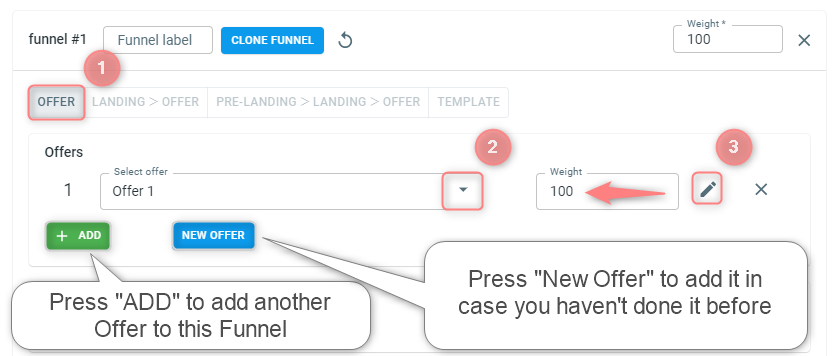
Choose an offer → assign the weight:
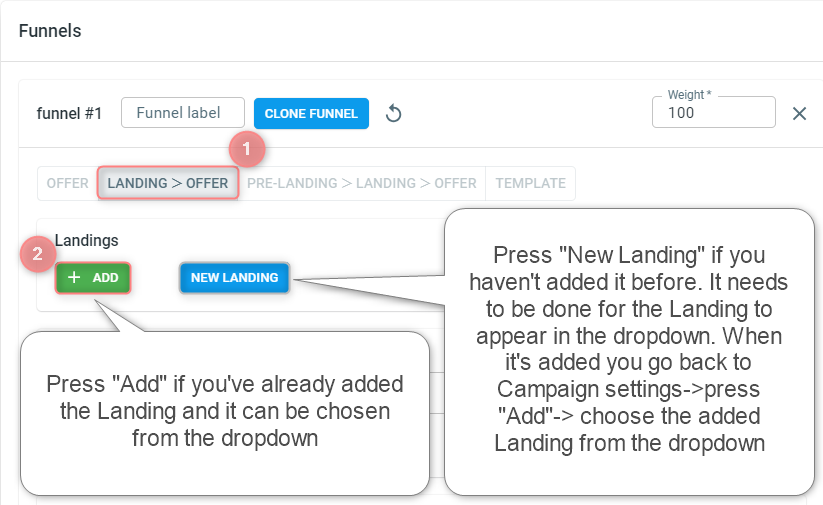
Choose Landing+Offer → Add your landing and offer and assign the weights to them:
☝ If you have a landing page that contains links to multiple offers with a separate button each, you can track their performance in RedTrack with the help of Listicle functionality. Refer to this article (“Tracking listicles” section) for details.
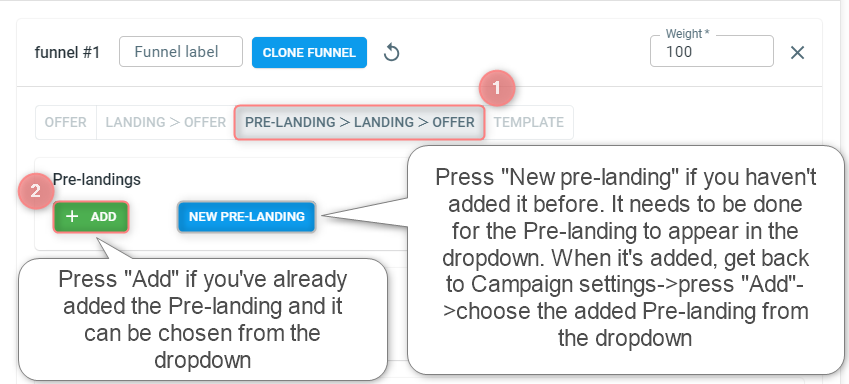
Choose Prelanding+Landing+Offer → Add your prelander, landing page, and offer and assign the weights to them:
Imagine you are using complex flows that include several landing pages/offers/filters/complex weights and you need to use one of these combinations within several campaigns with different traffic sources. You don’t want to spend more time creating the same funnels each time (especially if there are hundreds of campaigns). A funnel template is a solution for you in that case: you will need to create it once and then only choose the correct template for as many campaigns as you need.
To set up a funnel template act as follows:
1. Funnel template → Create new funnel:

2. Fill in the mandatory fields in the funnel template → Save:
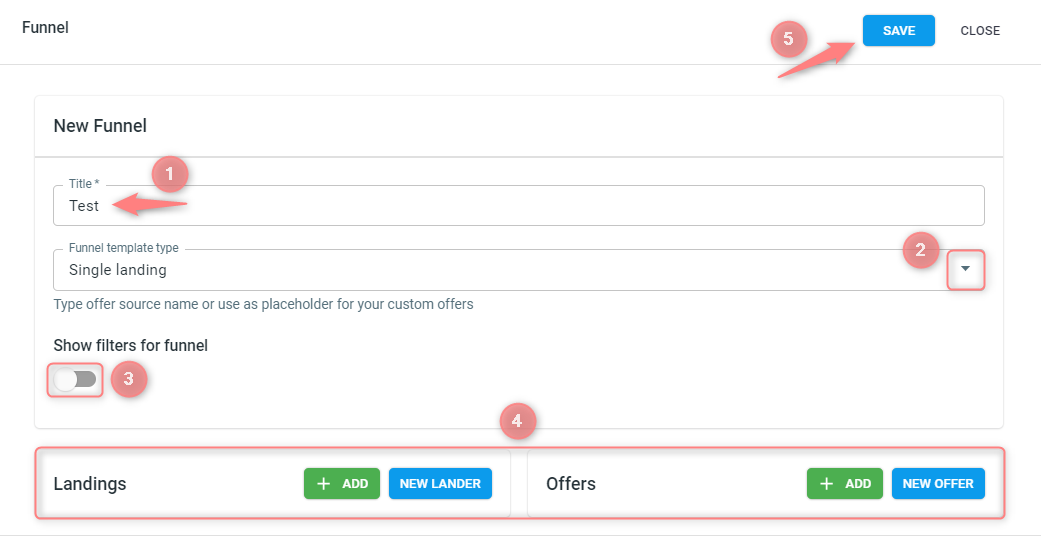
(1) Give your template a name.
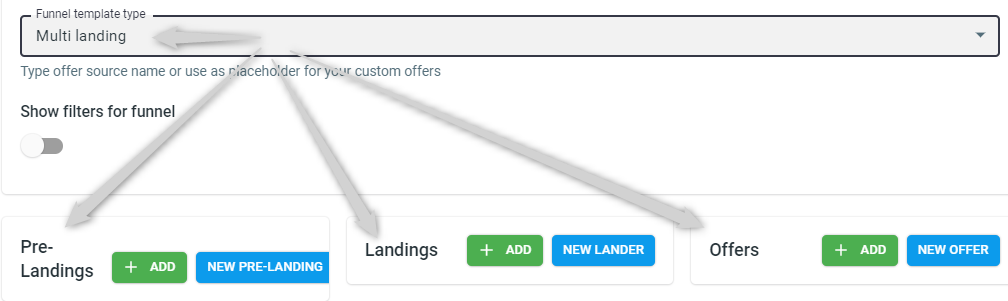
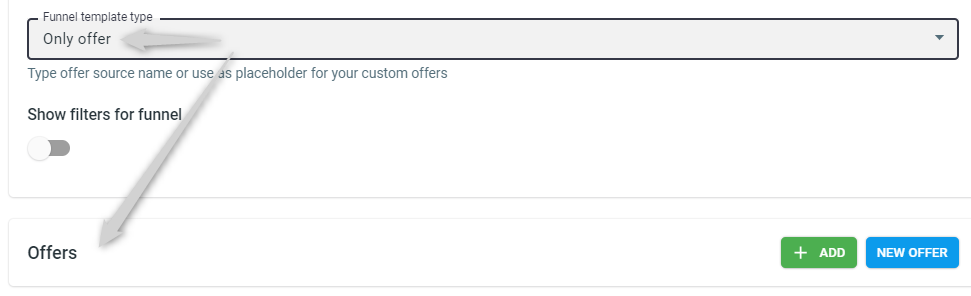
(2) Choose the Funnel template type:

(3) Switch on the Show filters for funnel toggle if you want to preset the filters for your funnel template:
– you can adjust the filters by the Filter preset (if you already created one) or manually by choosing the needed value from the Add filter field:
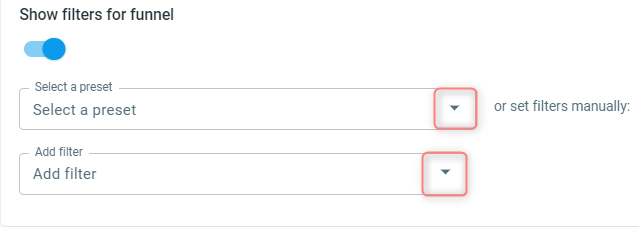
– once you decide on the way and choose the filter you may need to choose the Type and Value for your filter. Use the article Traffic filtering to figure out how to effectively set your filters
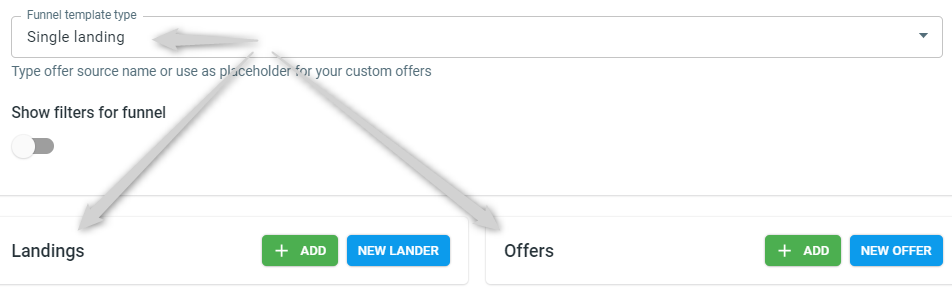
(4) Add the values to your Pre-Landing/Landing/Offer blocks. These blocks will appear depending on the option you chose in the Funnel template type (Single landing, Multi landing, Only offer):
● Single landing → Landing&Offer:
● Multi landing → Pre-Landing&Landing&Offer:
● Only Offer → Offer:
Add your Pre-Landing&Landing&Offer press Add or New Pre-Landing&Landing&Offer → set the Weight for your Pre-Landing/Landing/Offer → add filters to the added entities:

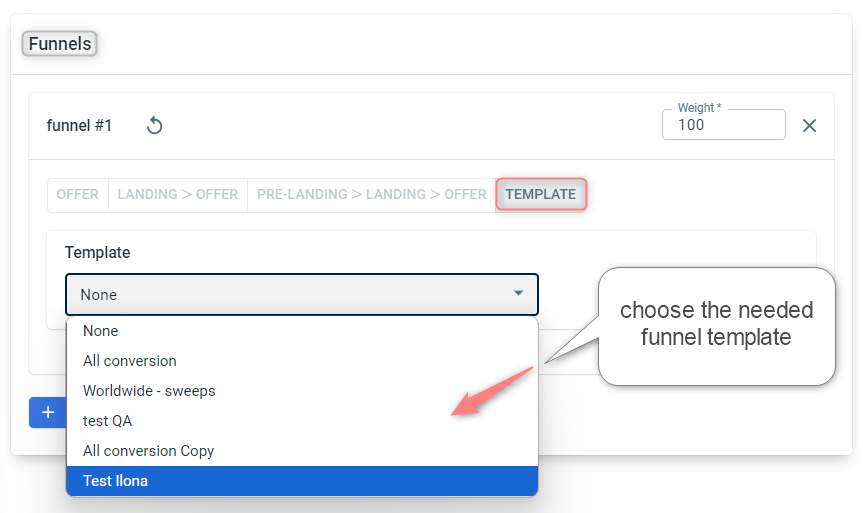
3. Add this template to your campaign. To do this go to your Campaign settings → Funnels → Template → find your funnel template:
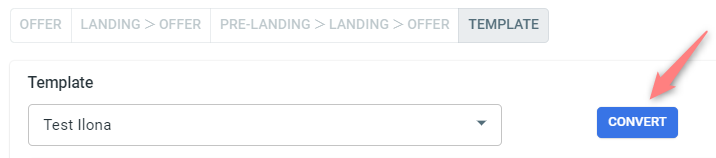
4. If necessary, you can convert your template back to a regular funnel. To do that, press the Convert button:
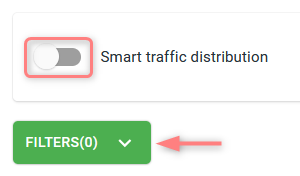
4. Switch on the smart traffic distribution toggle to set the funnel optimization and add the filters.
5. Auto update costs toggle is switched on automatically for the API-bound traffic channels. Refer to this guide for more details on this feature.
6. Set the advanced rules for your campaign to get more from the data you have. Refer to this article to help you set up rules.
3. Extra settings (optional)
There are some extra tabs that can be filled in as per your needs:

These tabs are enabled only if you have access to and use the partner management portal and work with individual publishers who promote your offers. A traffic channel “For Publishers“ is to be used from the template.


The URL field in this section serves as the destination URL where the impressions info is going to be sent in case impressions are collected within this campaign. Add the Impression forwarding URL only if your traffic channel supports this option.

The click forwarding URL allows you to send click data from your campaigns to an external system. Its main purpose is to share click data with third-party tools, most commonly fraud detection platforms, by forwarding all clicks for validation to the external URL you provide. Click forwarding works independently of the campaign’s traffic channel.
To set it up, go to your Campaign → Click forwarding URL → Add:

Enter the URL → select the postback method → save the changes to your campaign:

Fields explained:
This is where you paste the URL used to send click data. This URL is always provided by your fraud detection provider or any other solution you’re integrating with. If you don’t have it or are unsure what to enter here, please contact your fraud detection solution, they will share the correct template or endpoint for your setup.
You can also use the dynamic parameters (shown below the field) to pass additional data through the URL, such as campaign details, location, device information, and more.
You can choose between two methods:
- GET: sends click data as URL parameters. Use this method if the external platform accepts postbacks and reads parameters directly from the URL.
- POST: sends click data in JSON format. Use this method for custom integrations where the external system requires structured data.
Email to support@redtrack.io for assistance with the setup of the throttling feature.
4. Copy the RT tracking URL
Once the Campaign is saved, go to Tracking links and parameters → choose the tracking method and copy the automatically generated values:
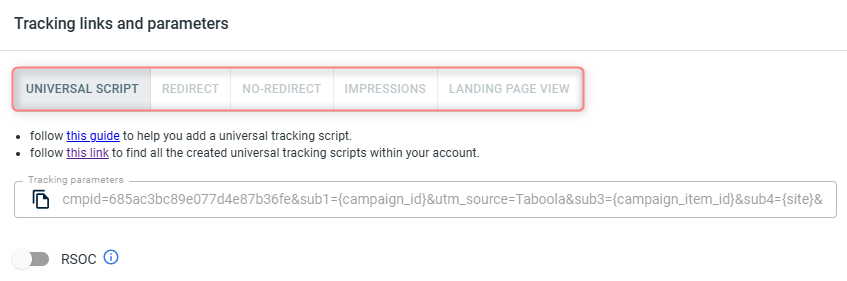
Refer to these articles for details on the preferred method of tracking:
– Universal script
– No-redirect
– Impressions