
ReachEffect and RedTrack

ReachEffect is a world-leading web and mobile advertising platform, which provides a distribution channel to advertisers and a monetization solution for publishers.
RedTrack has an API integration with ReachEffect, which gives you the following benefits:
- Pause: campaign, placement
- Create automated rules
Integration
Important before you start
Before you proceed with the integration, make sure to have the already added:
- Custom tracking domain
- Offer source and Offer (if you’re an Affiliate)/ Brand and Website (if you’re an Advertiser)
- Conversion types you’re planning to work with
Integrations steps
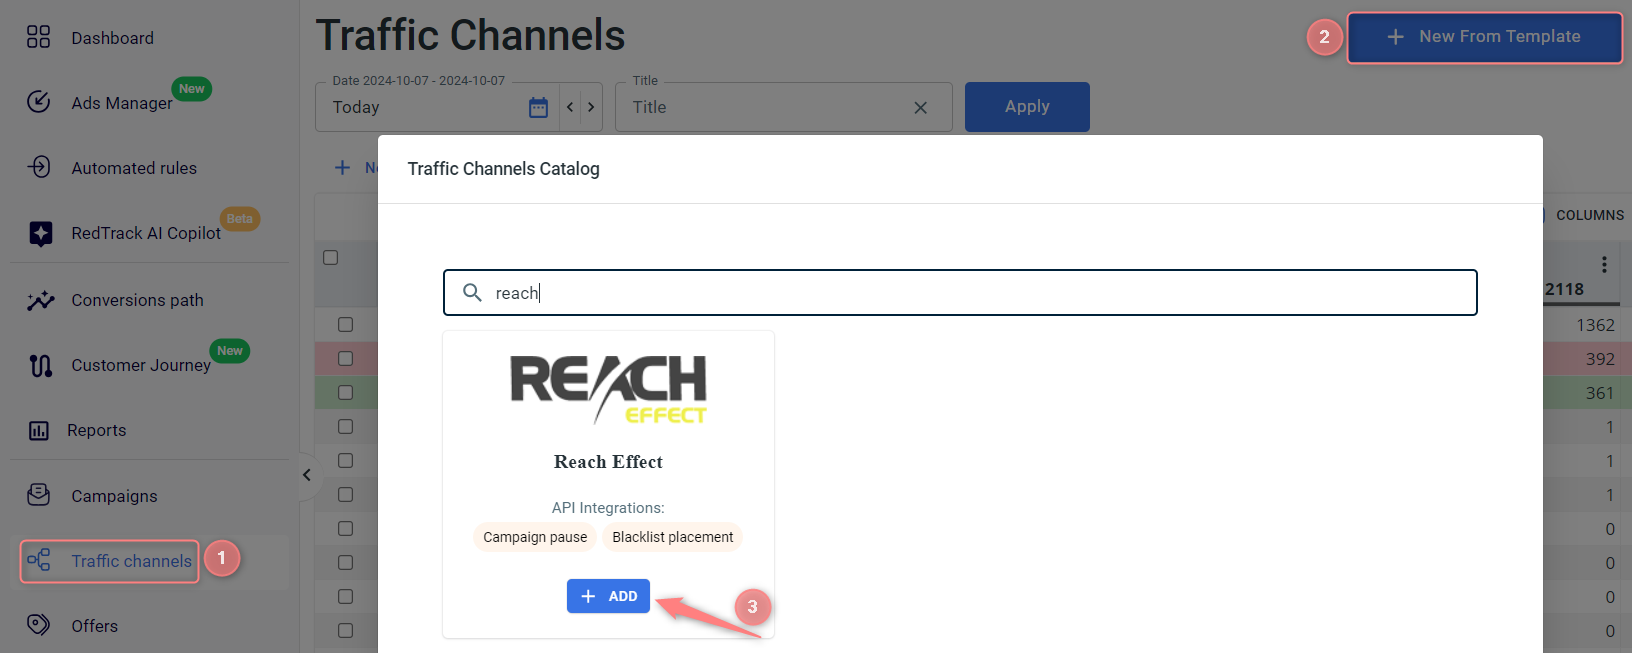
1. Add ReachEffect as a Traffic channel in RedTrack.
Your RedTrack account → Traffic channels → New from template → find ReachEffect → Add → Save the template:

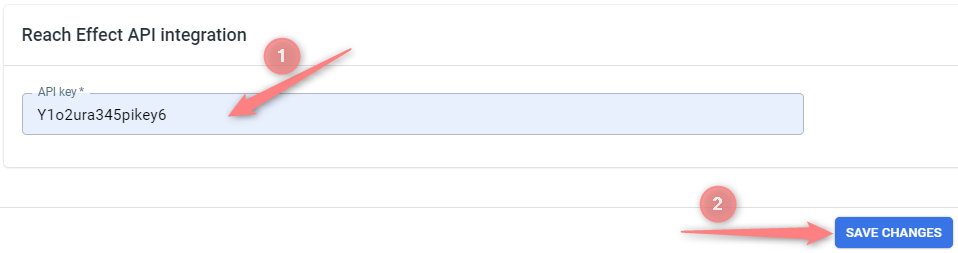
2. Integrate ReachEffect with RedTrack.
In the added ReachEffect template go to the ReachEffect API integration section → add the ReachEffect API key → Save changes to the template:

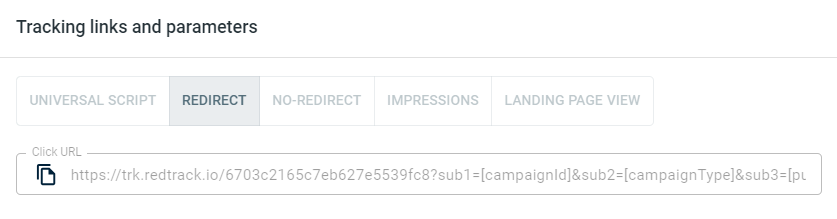
3. Create a campaign in RedTrack with ReachEffect as your traffic channel.
Campaigns → Create new campaign → use this guide (for Affiliates) / this guide (for Advertisers) to help you add the campaign with ReachEffect as your traffic channel → once the campaign is added, your tracking link is automatically created, copy Click URL (your tracking link):
– Universal script
– No-redirect
– Impressions
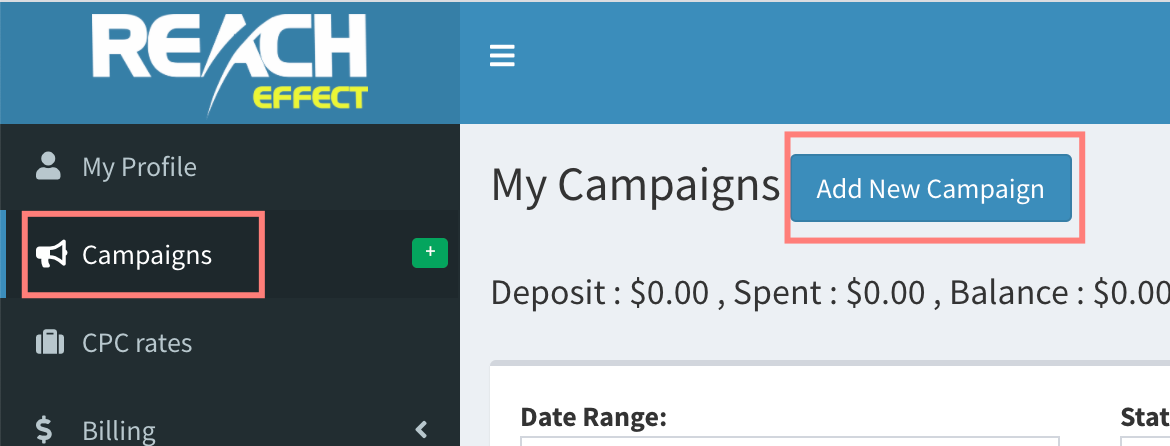
4. Set up the tracking on the ReachEffect side.
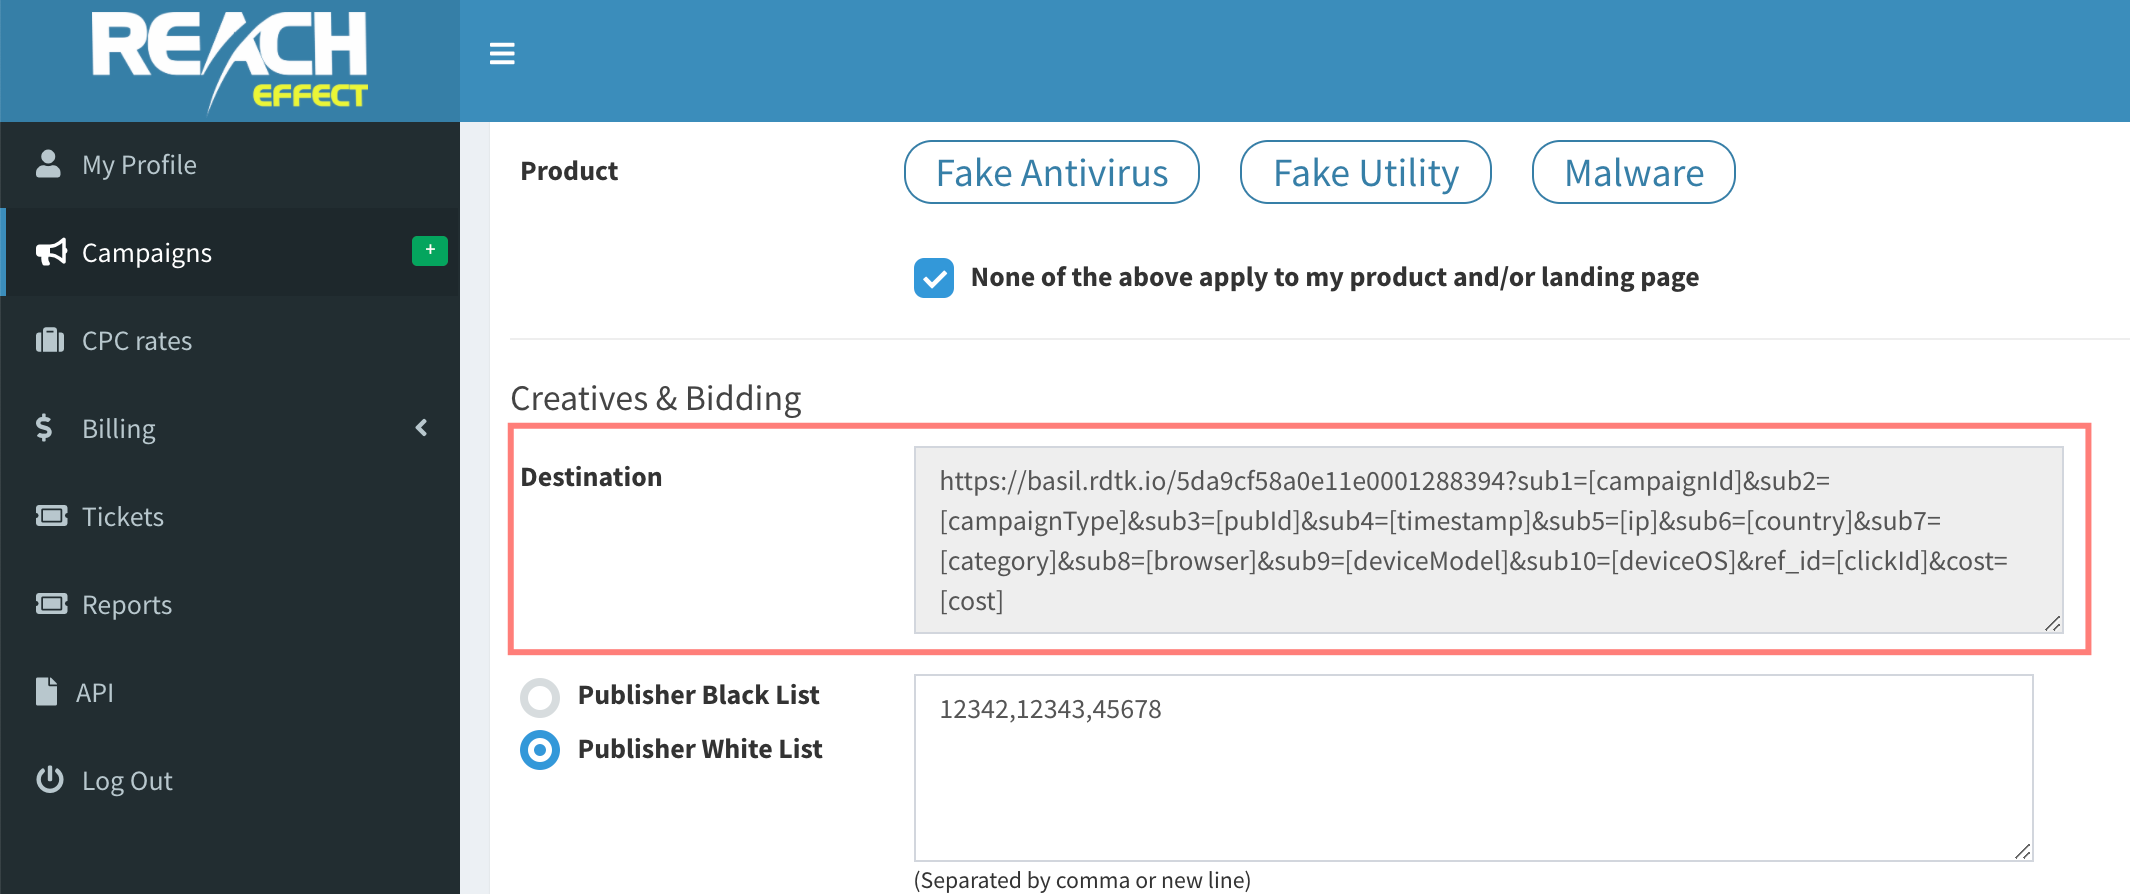
4.1 In your ReachEffect account go to Campaigns → Add New Campaign:
4.2 Add your RedTrack campaign Click URL (copied in step 3) to the Destination field inside your ReachEffect campaign settings:
5. Set up the Postback URL in RedTrack.
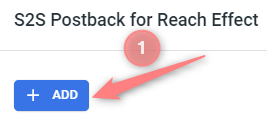
5.1 In Campaign settings (created in step 3) scroll down to S2S Postback for ReachEffect → Add:
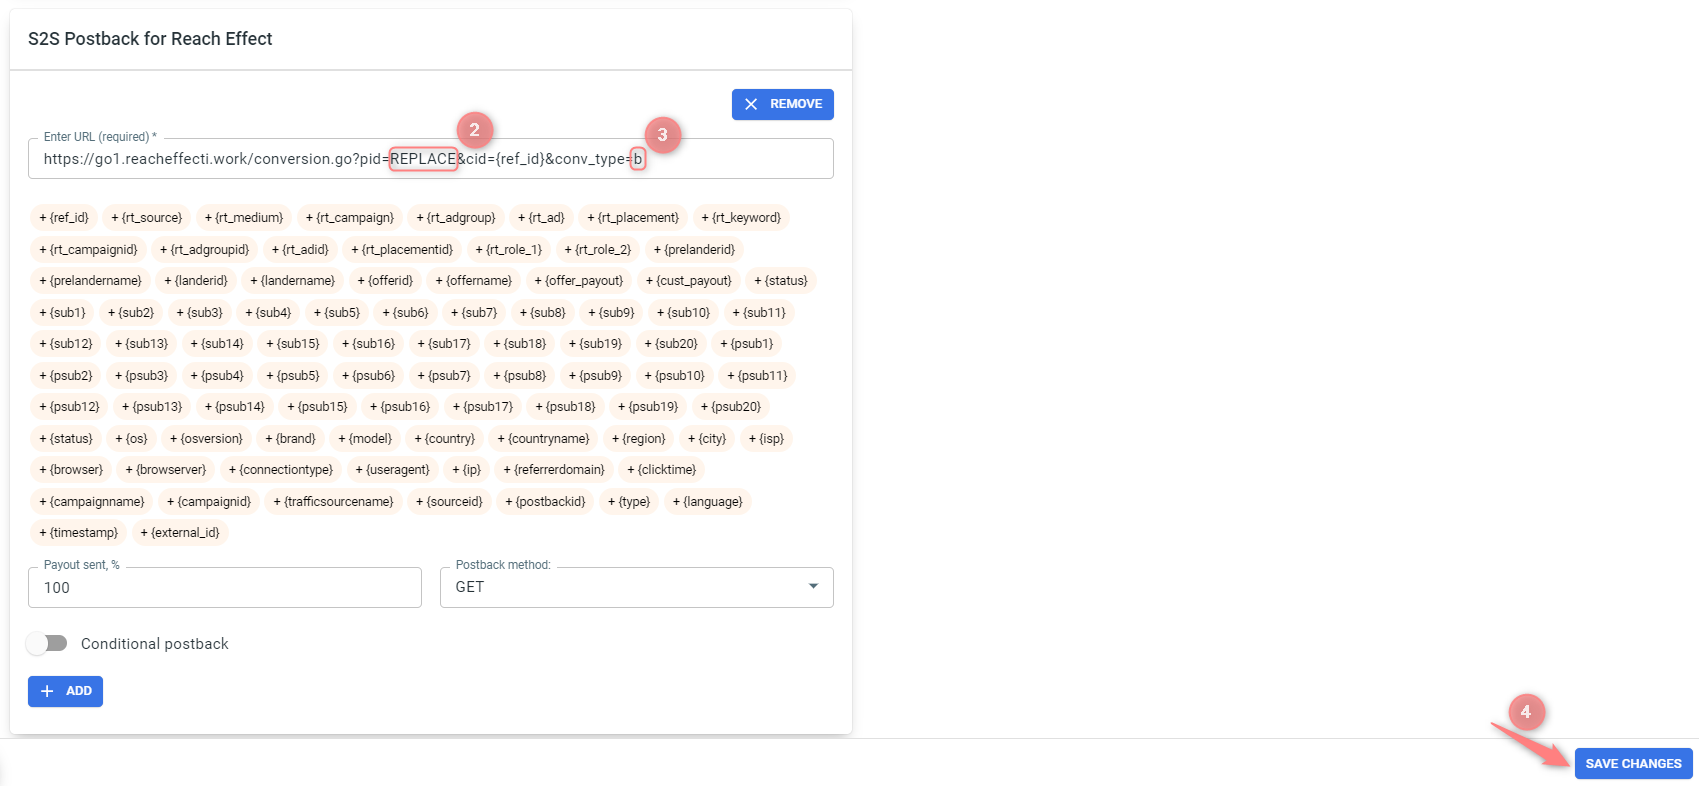
5.2 Make the following changes to the postback:
- pid=REPLACE: instead of REPLACE add your user ID from ReachEffect (i.e. pid=12345abcde).
- conv_type=b: put the needed letter instead of “b”. It can go from A to Z so you can have multiple events. Each letter corresponds to the particular event name in the ReachEffect platform.
6. Set up the automation.
- Use this guide to help set up rules.
- Use this guide for setting up the auto update cost feature.